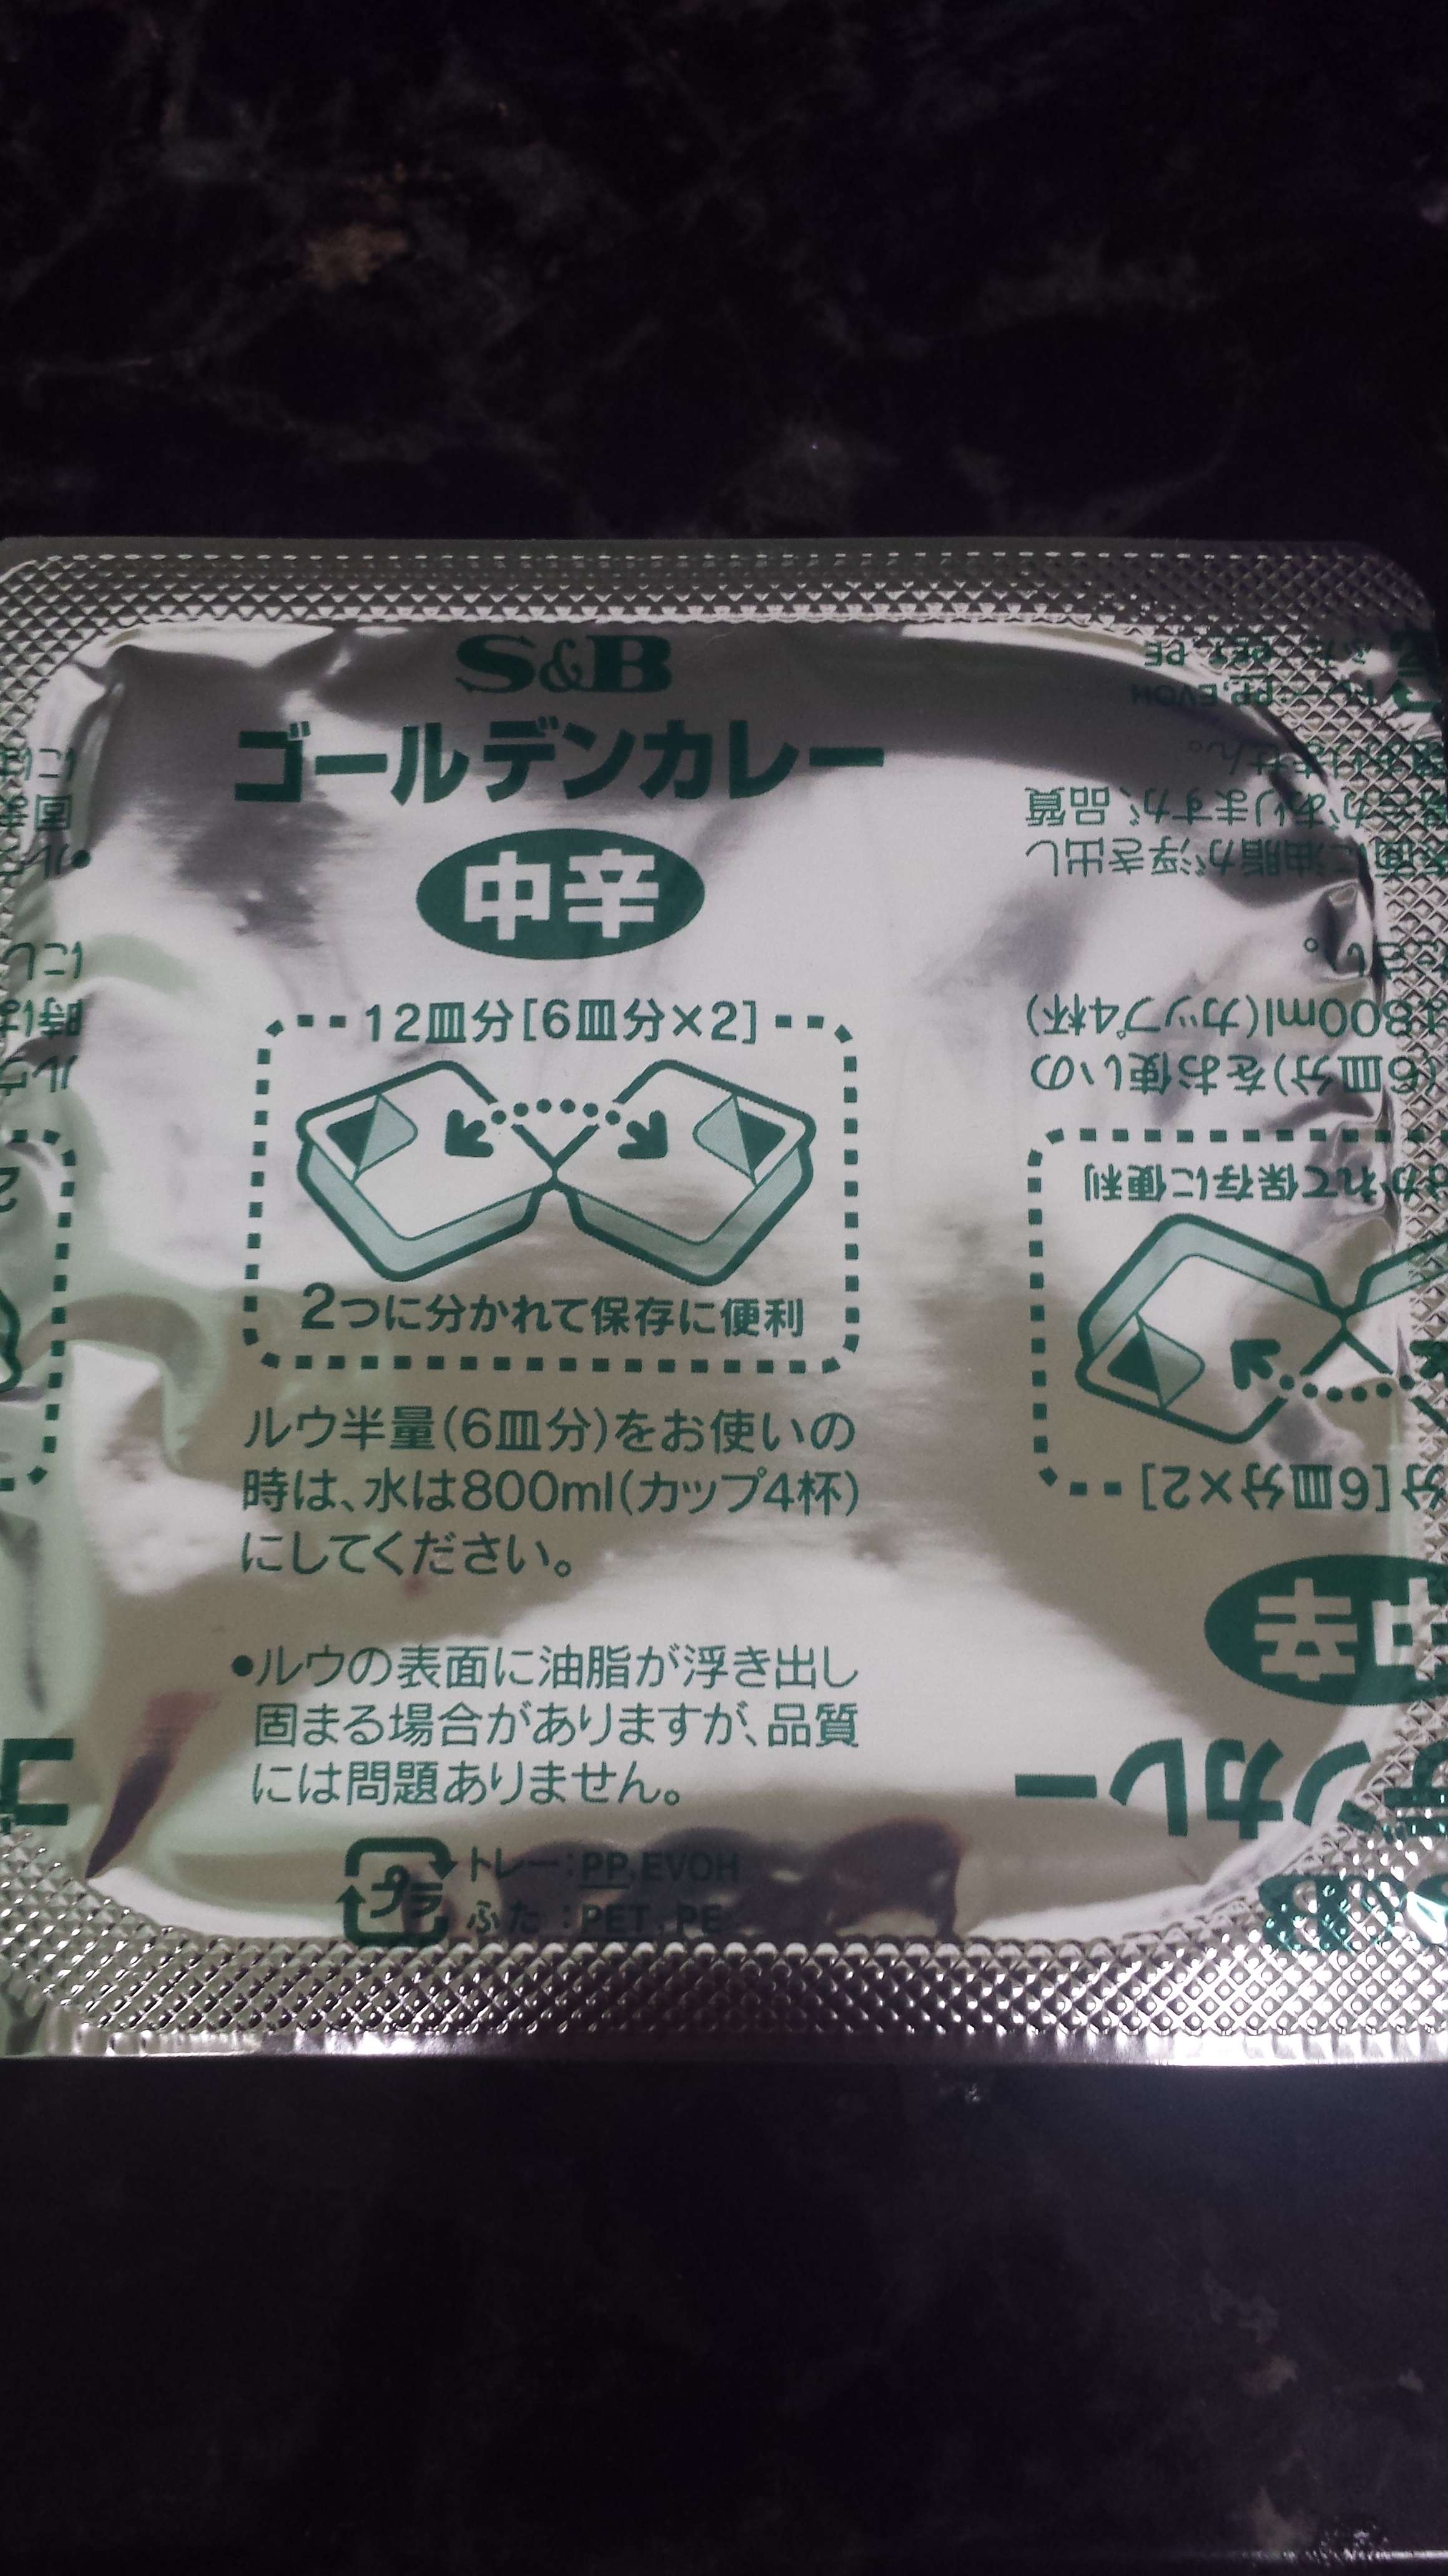
So this particular recipe is really more like half recipe, half review. I do not, and unfortunately never have, made Japanese Curry from scratch. It’s just far too easy to use the curry starter you can purchase in any grocery, and I put a lot of trust into Japanese products (their food regulations are VERY strict). There are many curry brands to choose from, but my favorite has always been Golden Curry. I rarely use anything other than this brand, and I recommend you use it for this recipe too.
It’s important to note, Japanese Curry isn’t remotely spicy. I buy the 中辛 variety which means it’s medium spicy and there really is no heat, at all. The 甘口 variety is actually sweet, so you probably want medium or hot (辛口). I think most golden curry packages have English, so just pay attention to what you’re buying.
Another important thing to note is, to be honest, it’s not really the curry starter that’s important; it’s what you put in the curry. Here is a list of recommended ingredients:
Golden Curry Medium Spicy, 1/2 a box (i.e. 4 tabs)

Onions – I’m a big fan of onions, so I put 1 1/2 very large onions into this curry. You want to cut the onions into wedges that are about 2 – 2 1/2 inches thick on the outside. Generally, that makes 6-8 slices per onion.
Meat – Although not a necessary ingredient, curry tastes wonderful with Chicken, Pork, Turkey, Beef, Venison, and almost any other fresh meat. I imagine it would taste wonderful with gamey meats as well, but I’ve only ever tried venison. Don’t use fish or seafood; the sauce is too overpowering and it’ll fall apart in the pot.
Potato – My personal preference for curry is sweet potato because it adds a hint of sweet to the curry. In the picture of ingredients below, it’s just normal Russet potatoes because I needed to use them before they went bad; but I highly recommend sweet potatoes. You really need potato in curry to help soak up the liquid of other ingredients. I realize many people will think… “really? combine potato and rice?” but trust me, you need the potato.
Bell Peppers – Red, green, yellow, orange, it doesn’t really matter. The peppers add some nice color to your curry.
Japanese mushrooms, preferably Shitake – You DO NOT want to use regular white mushrooms from the grocery store for this. They just don’t taste right. Shitake mushrooms are best, but you can also use King Oyster Mushrooms. Personally, I always go with shitake.
Carrots – This is another vegetable that helps thicken the curry, so you don’t want to leave them out. They also add some nice color and maintain the curry’s hearty texture.
For the curry pro, try some of these unusual ingredients: Apple, pear, peaches, tofu, kabocha, butternut squash, eggplant, spicy peppers (like jalapeno’s), or cabbage.
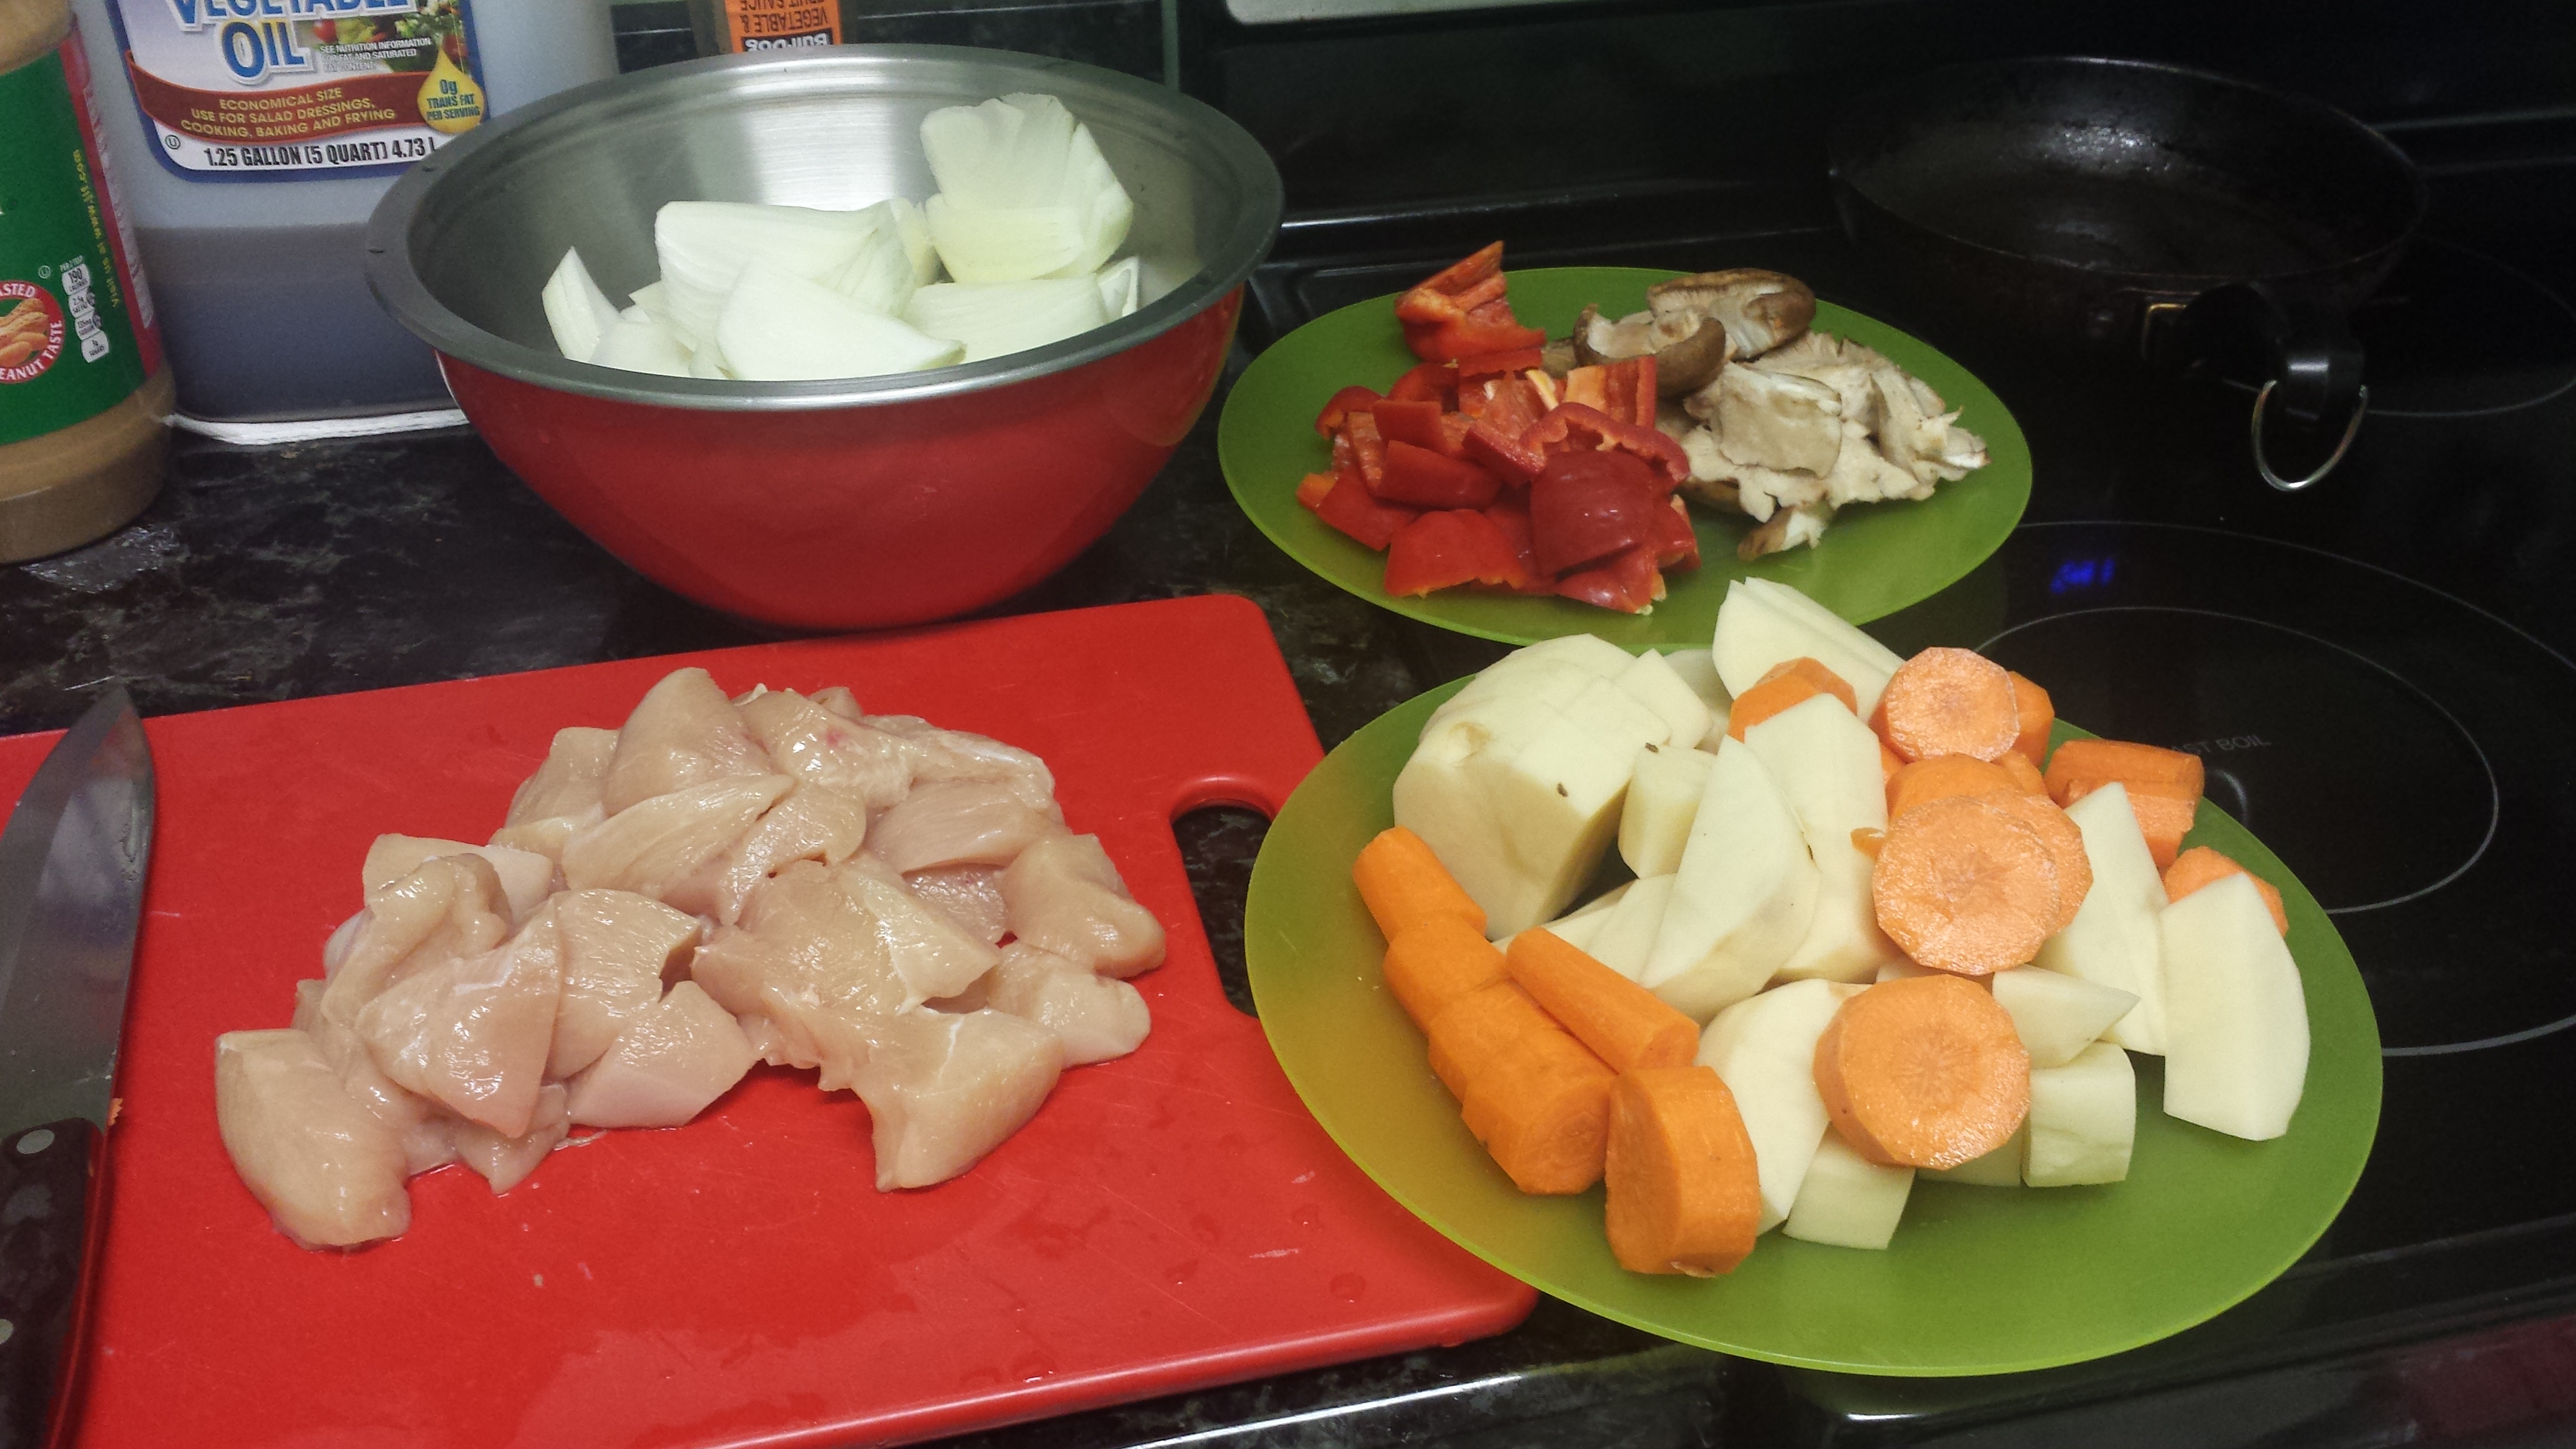
To start your curry, cut your ingredients up into bit-sized pieces, like below. Try to make the pieces of carrot and potato similar sized so they cook at the same time.
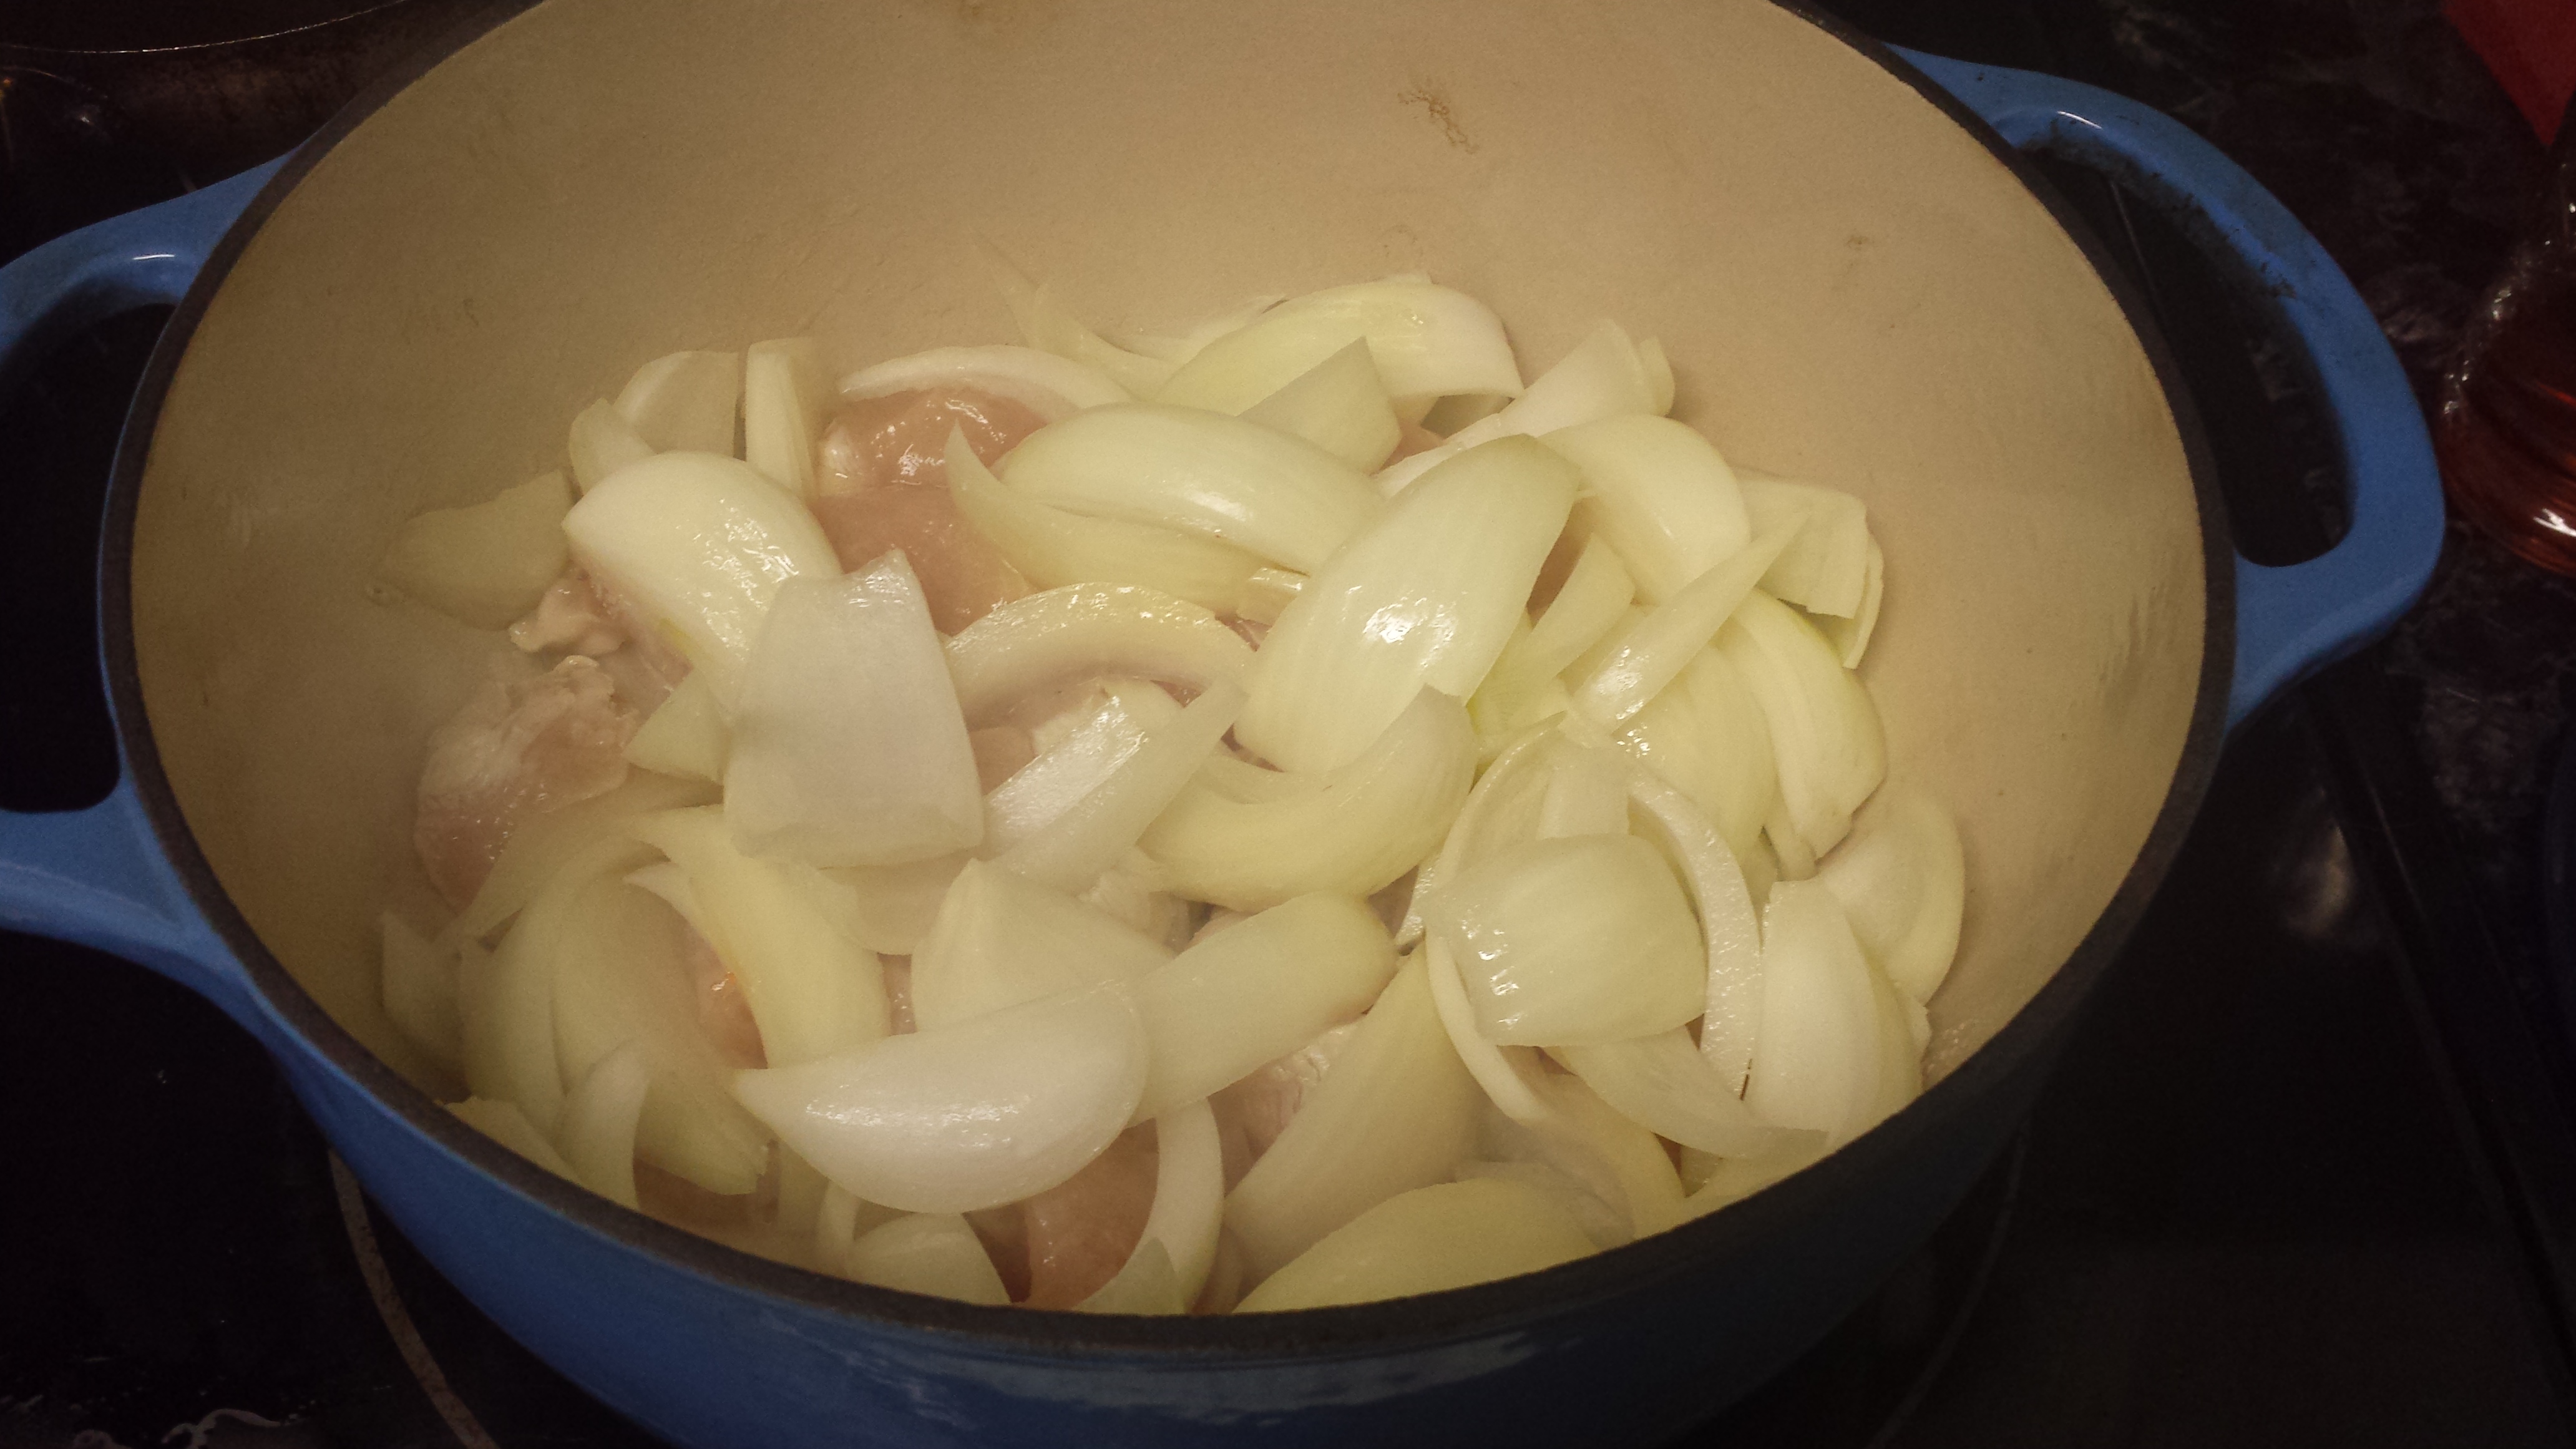
Your first task is to brown your meat and onions, so the next step will vary depending on what kind of pot/pan you decide to use. I like to use my dutch oven for curry, so I can make the whole recipe in this one pot. With the dutch oven, I just throw some oil in the bottom (about 1 TBSP), heat it up, and brown the onions and chicken directly in the pot. Cook the meat and onions until the onions turn translucent, about 10 minutes.
If you are using a standard 6-8 quart pot, you will want to start a bit differently. I suggest you get your water boiling in the pot while you brown the meat and onions in a saute pan separately. This will make it easier to proceed with the next steps.
Next, add 6 cups of water, the potatoes, and the carrots to the pot. You should now have meat, onion, potato, and carrot all in the pot. Bring the water to a boil, then let it simmer until the potato starts to soften but isn’t fully cooked (10-15 minutes depending on the size of the pieces).
Add the mushrooms next and let the potato finish cooking, about 5 more minutes. You should be able to easily insert a fork into the potato.
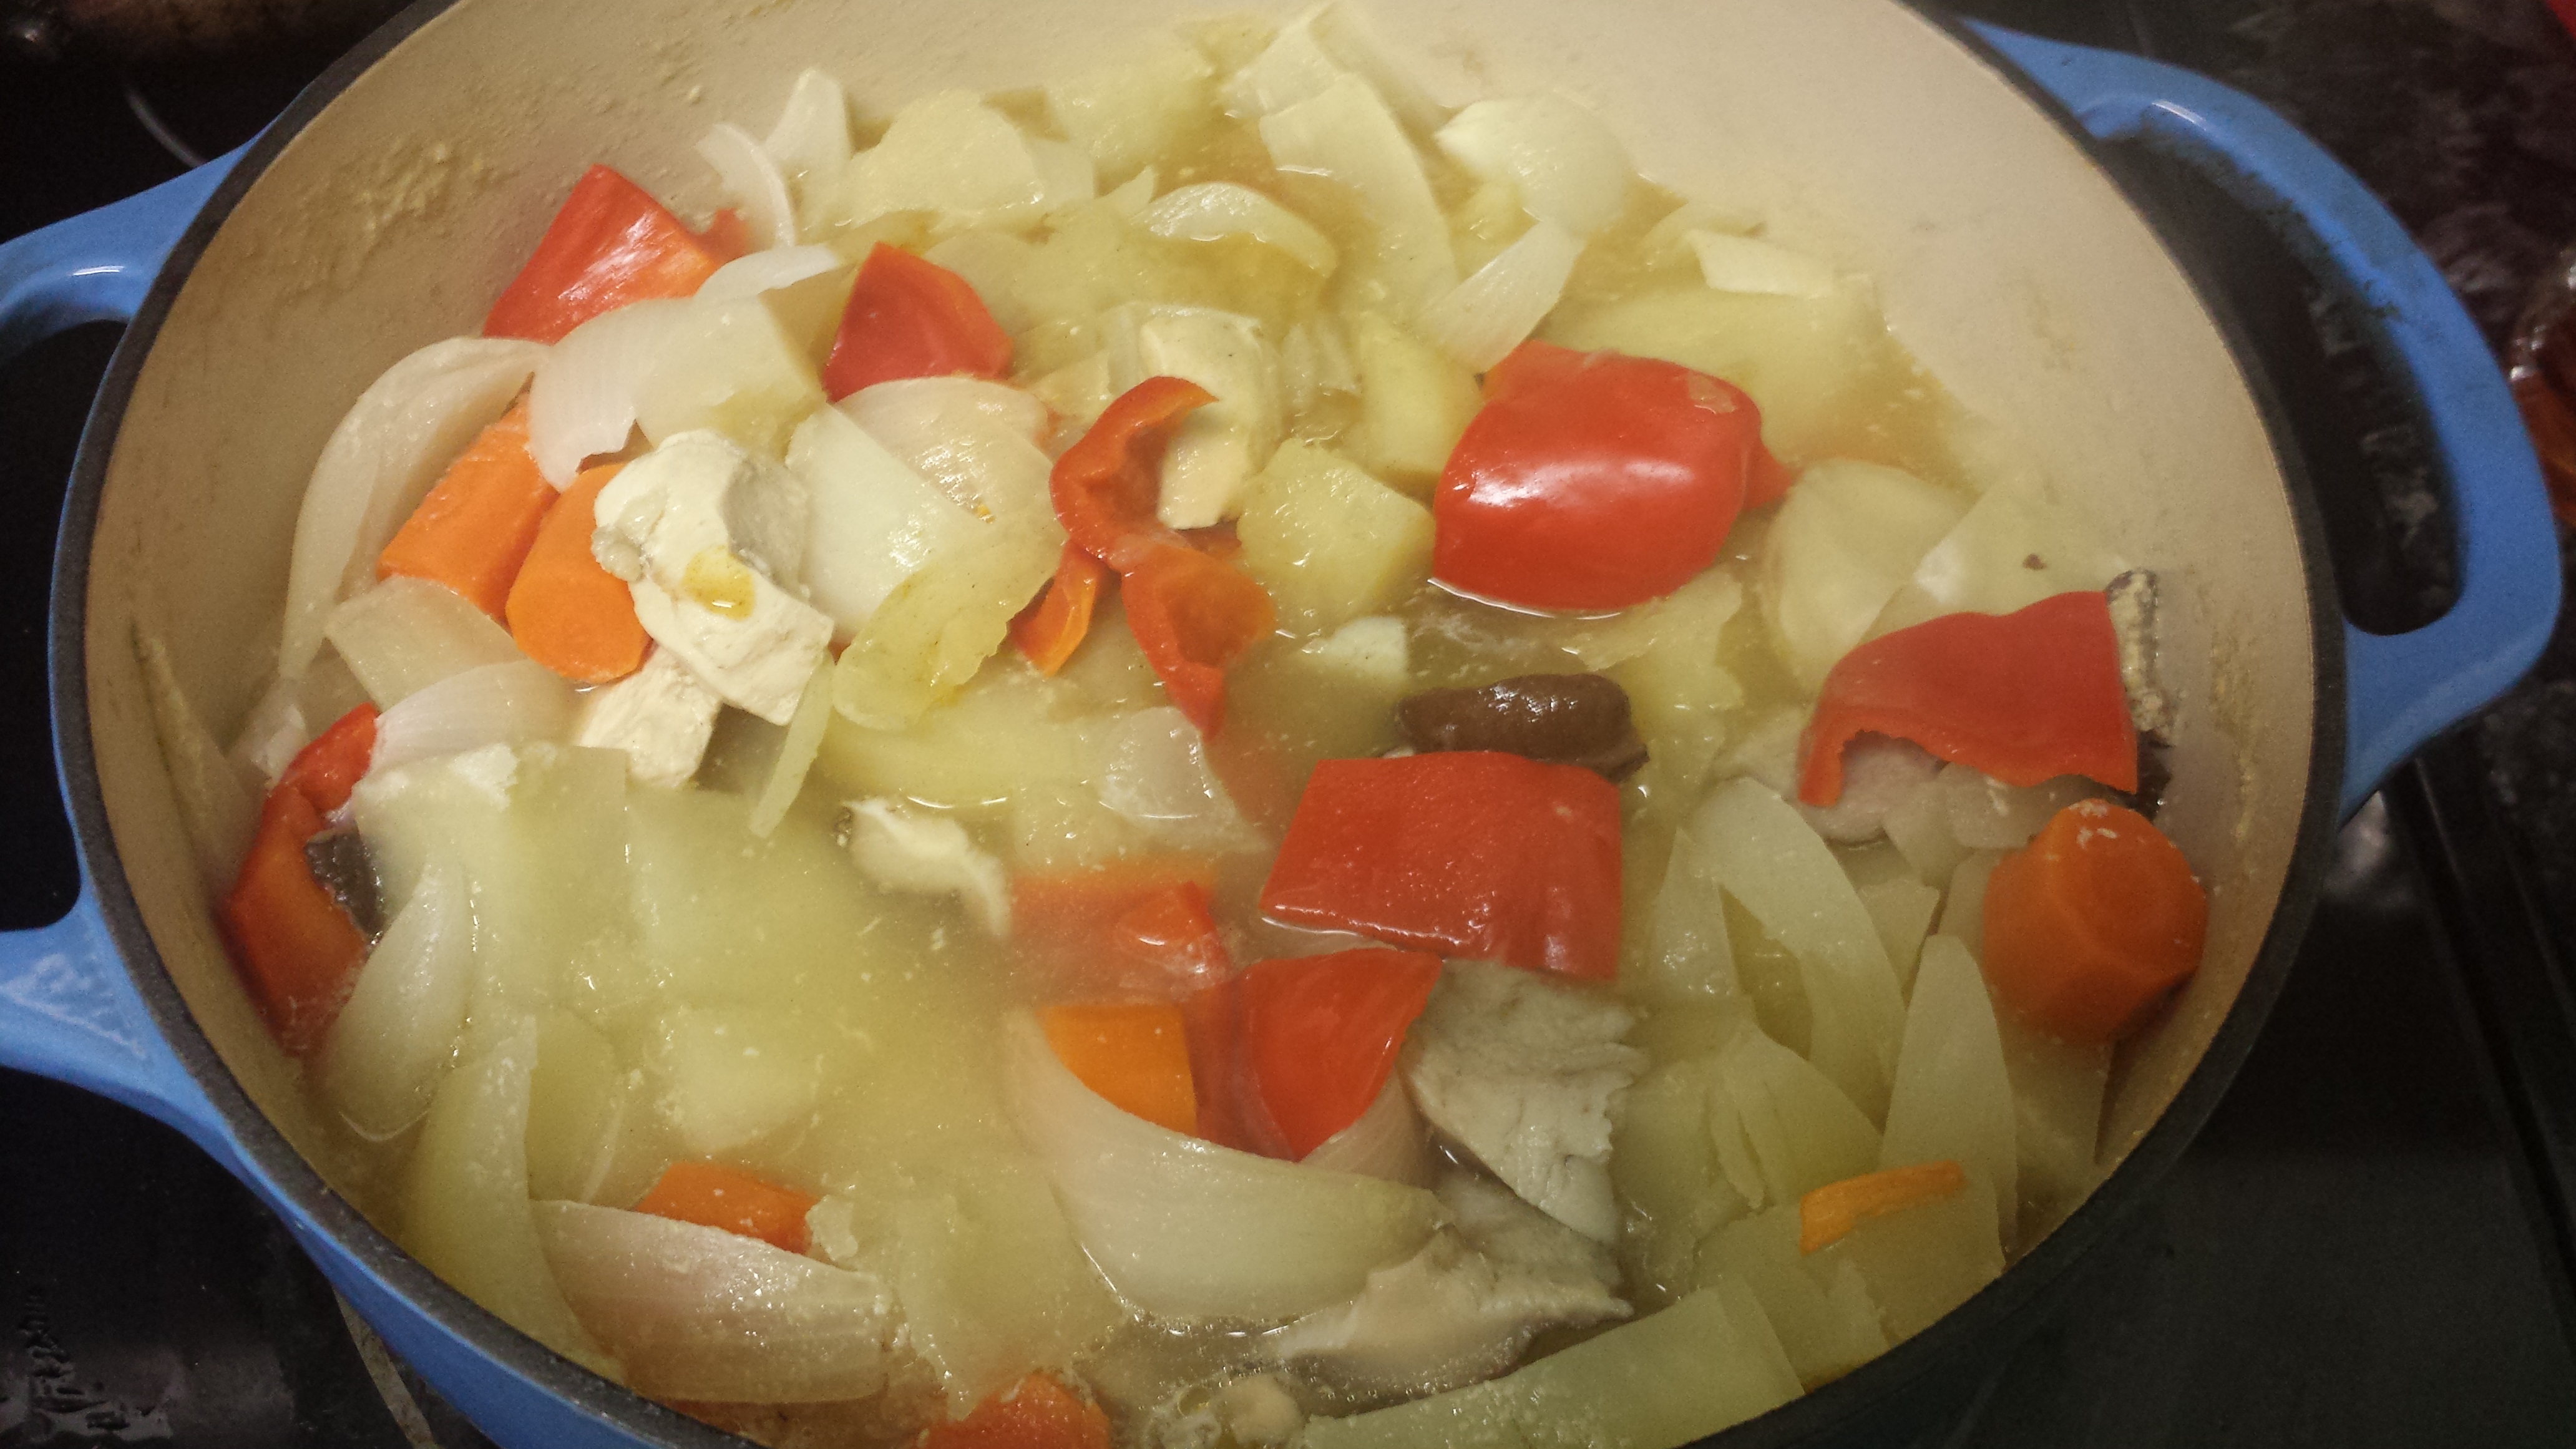
Then, add the peppers. The peppers need to go last or they become mushy. Finally, turn the burner down to the lowest setting while you complete the curry starter adding steps.
Next, you are going to mix in the curry. Break the curry up into 4 tabs by bending the box along the lines. Then, remove 2-3 cups of water from the pot and get rid of it. You need the water for boiling, but if you keep it all your curry will be very thin.
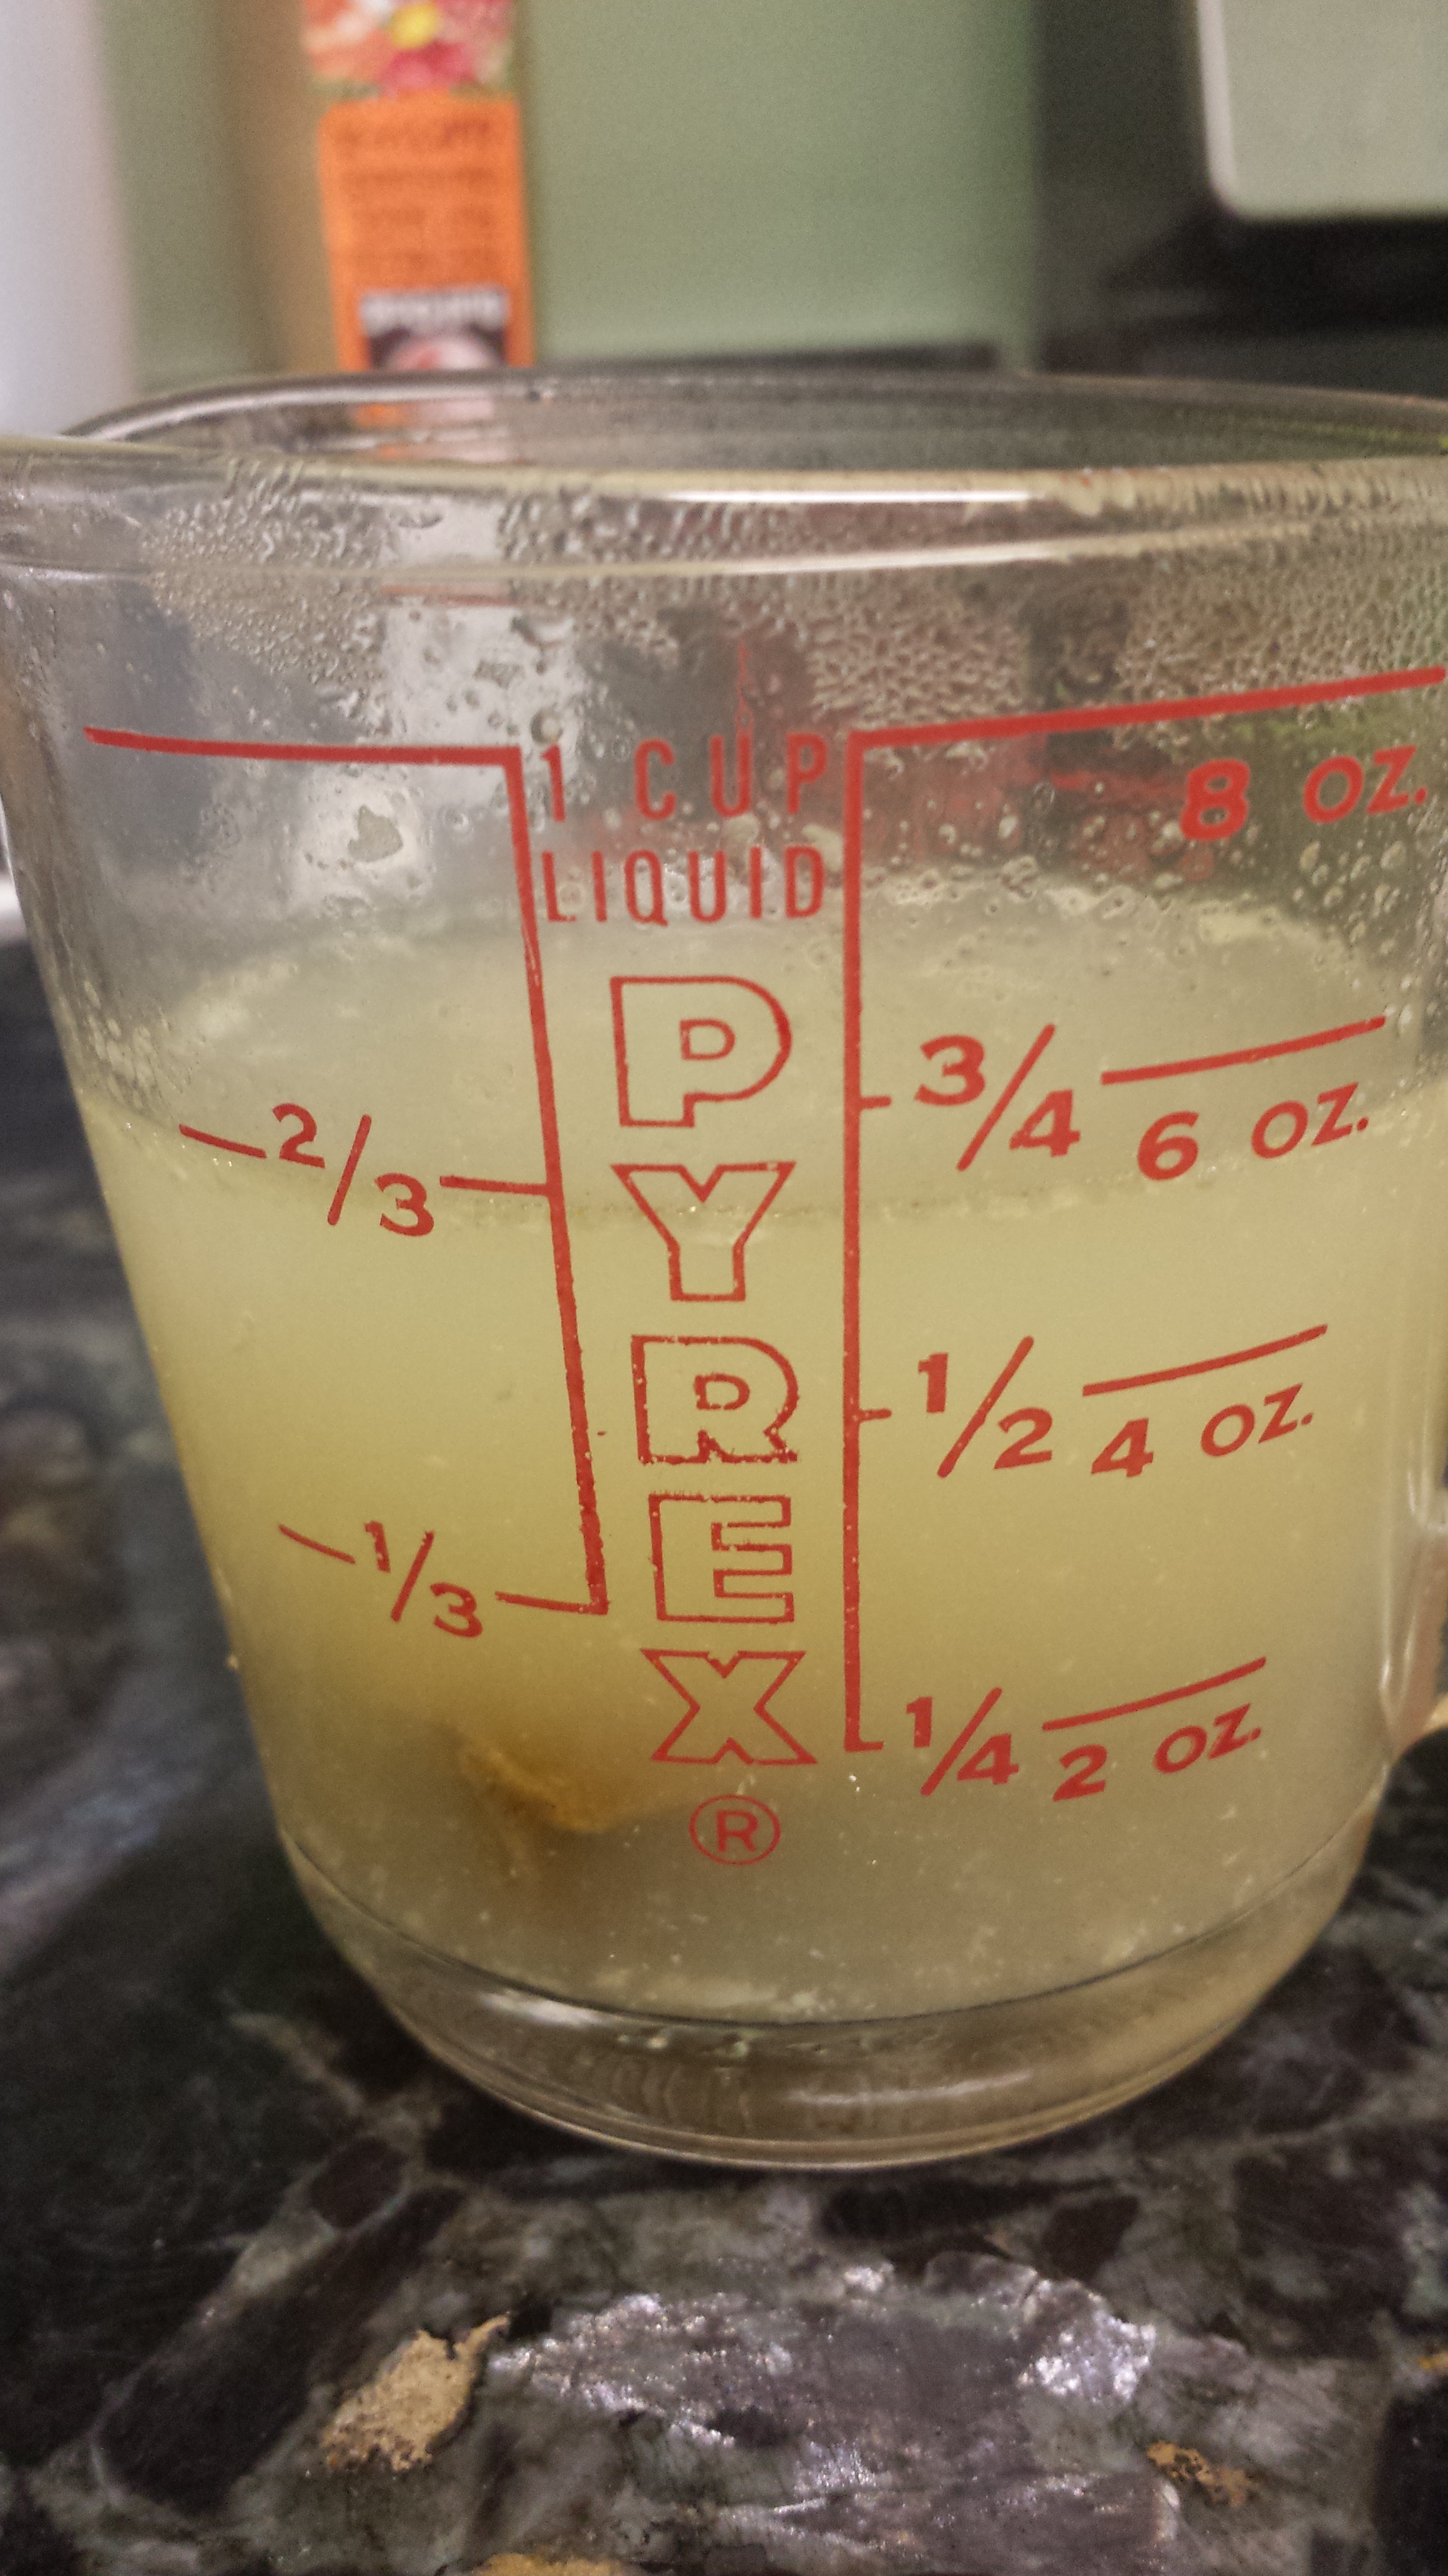
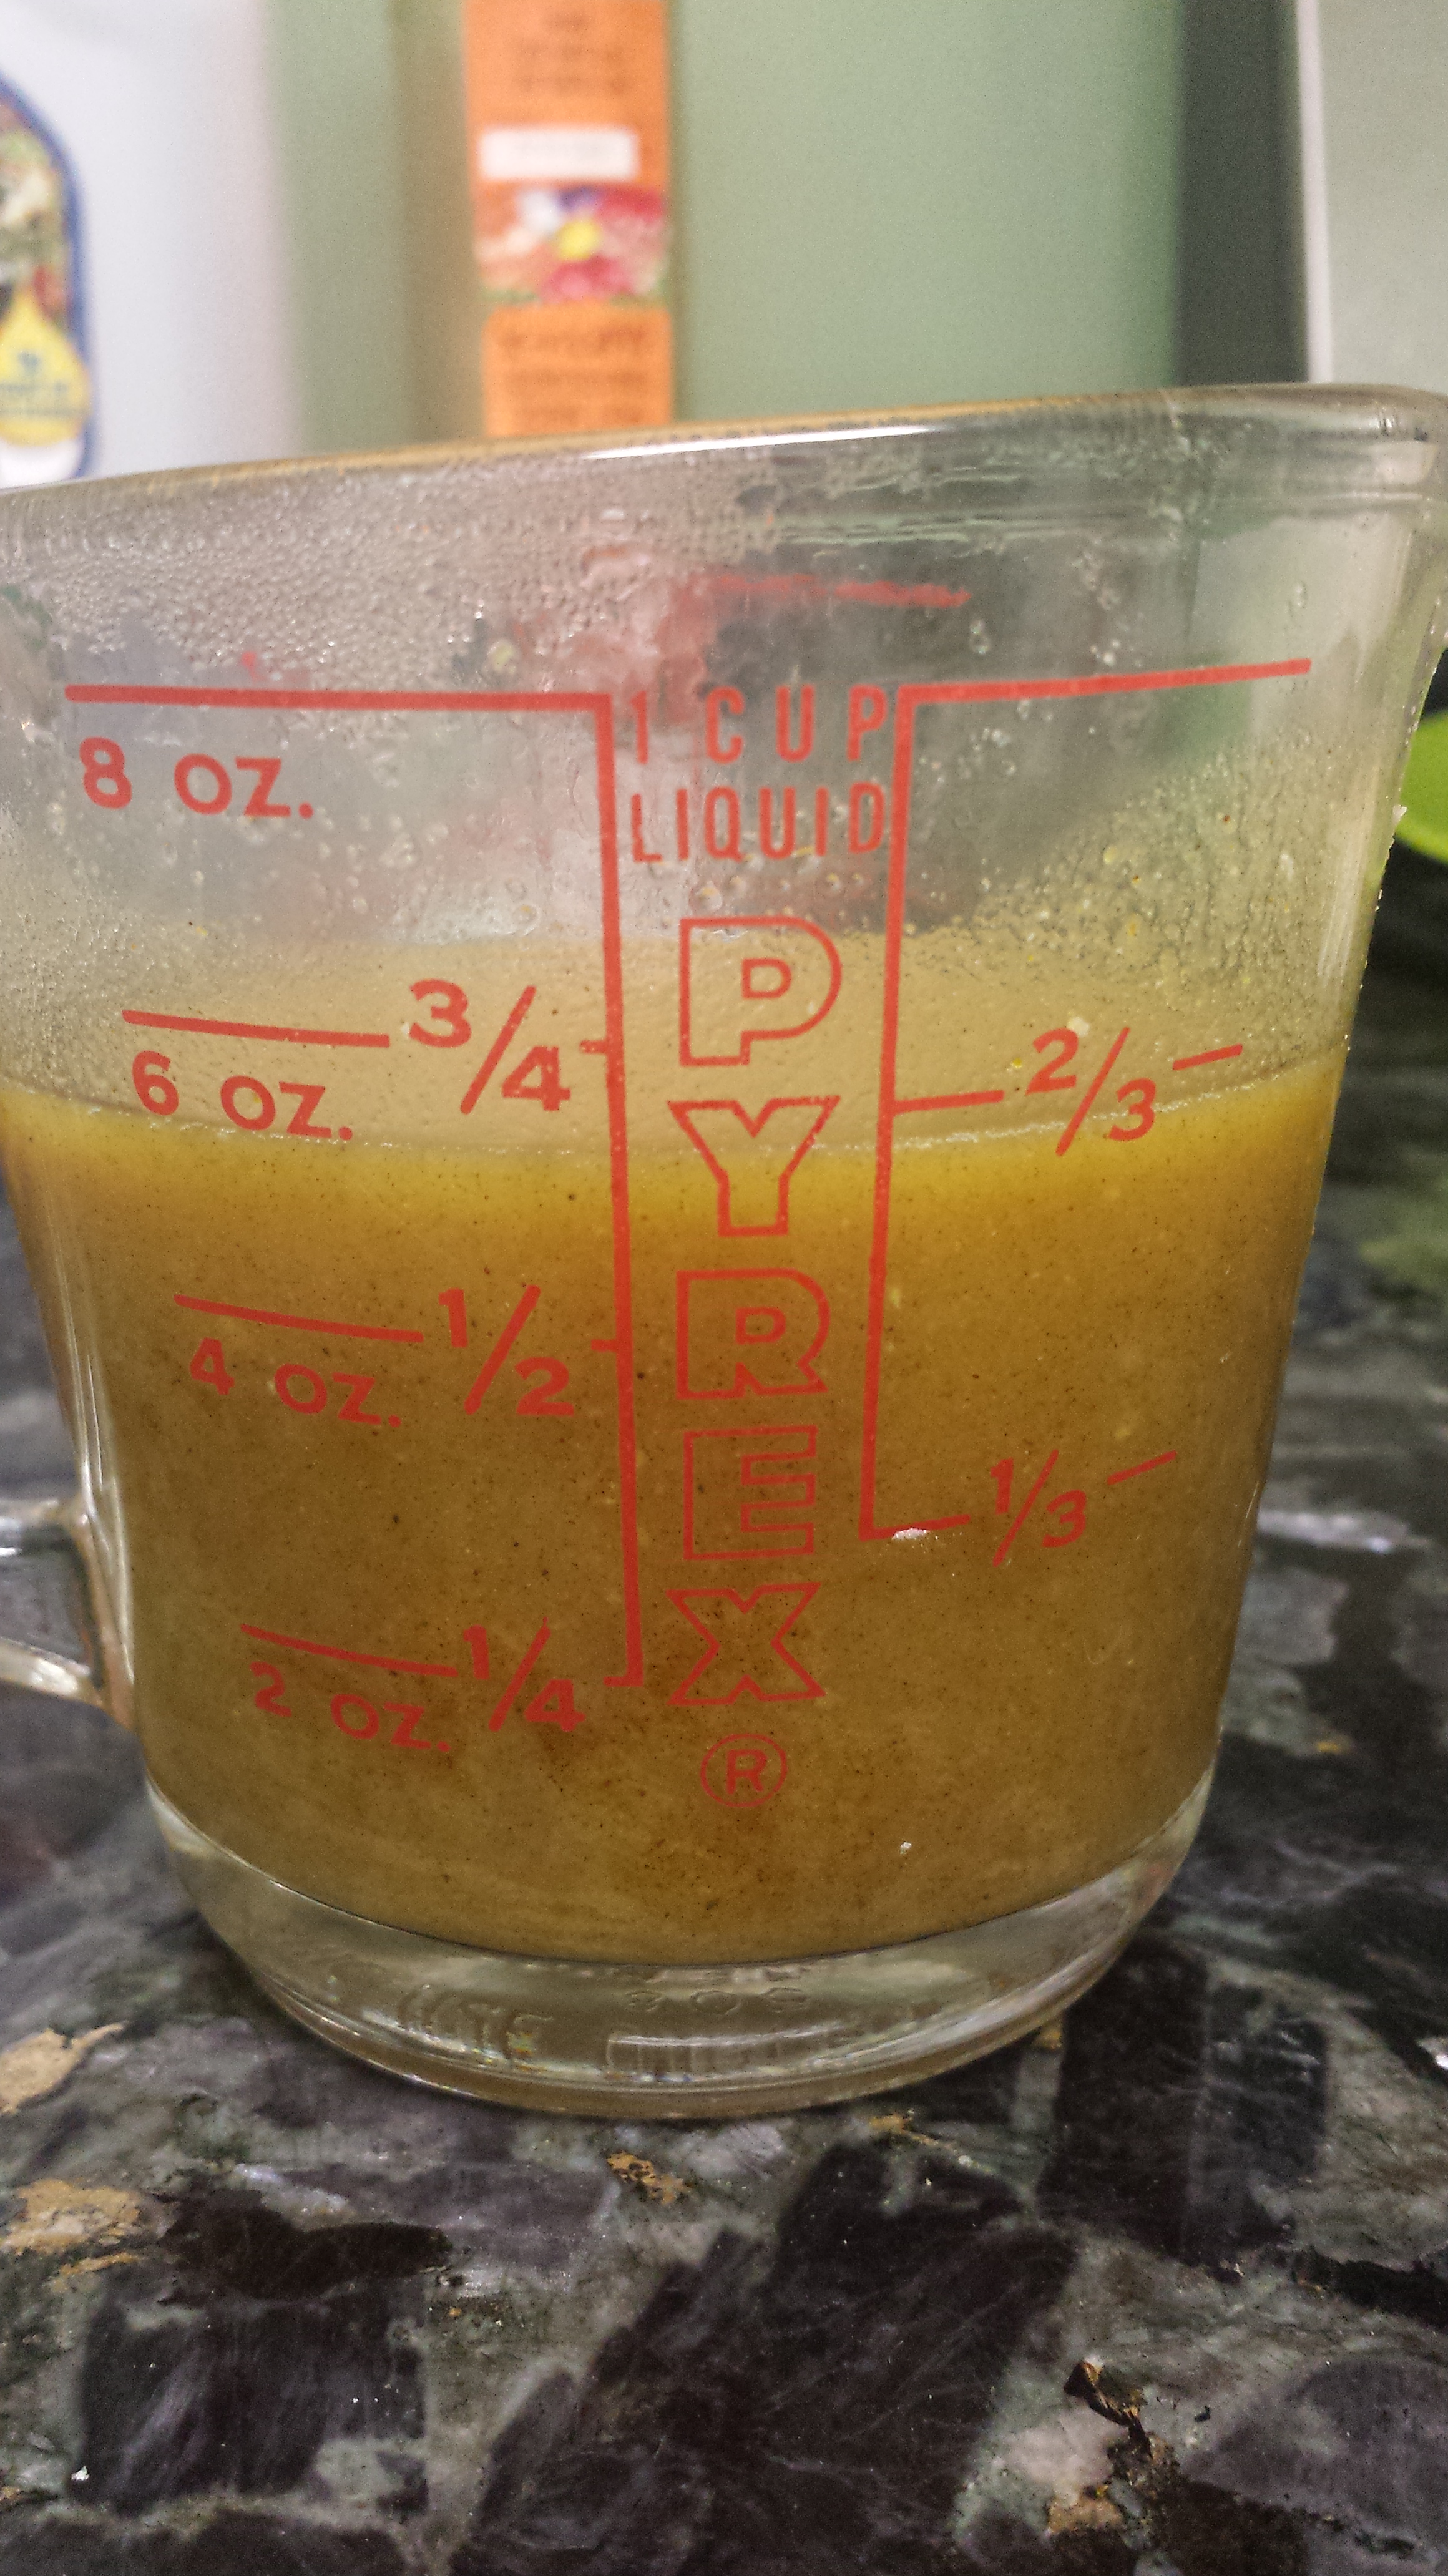
Next, fill a cup (preferably one with a pour spout) with water from the pot, drop in one of the 4 tabs of curry starter and stir until it has completely dissolved. This is a very important step; you want to dissolve the curry starter separately to prevent clumps. Once you’ve dissolved one tab, you will add the curry back to the pot. Repeat this step until all 4 tabs of curry starter are dissolved and in the pot.
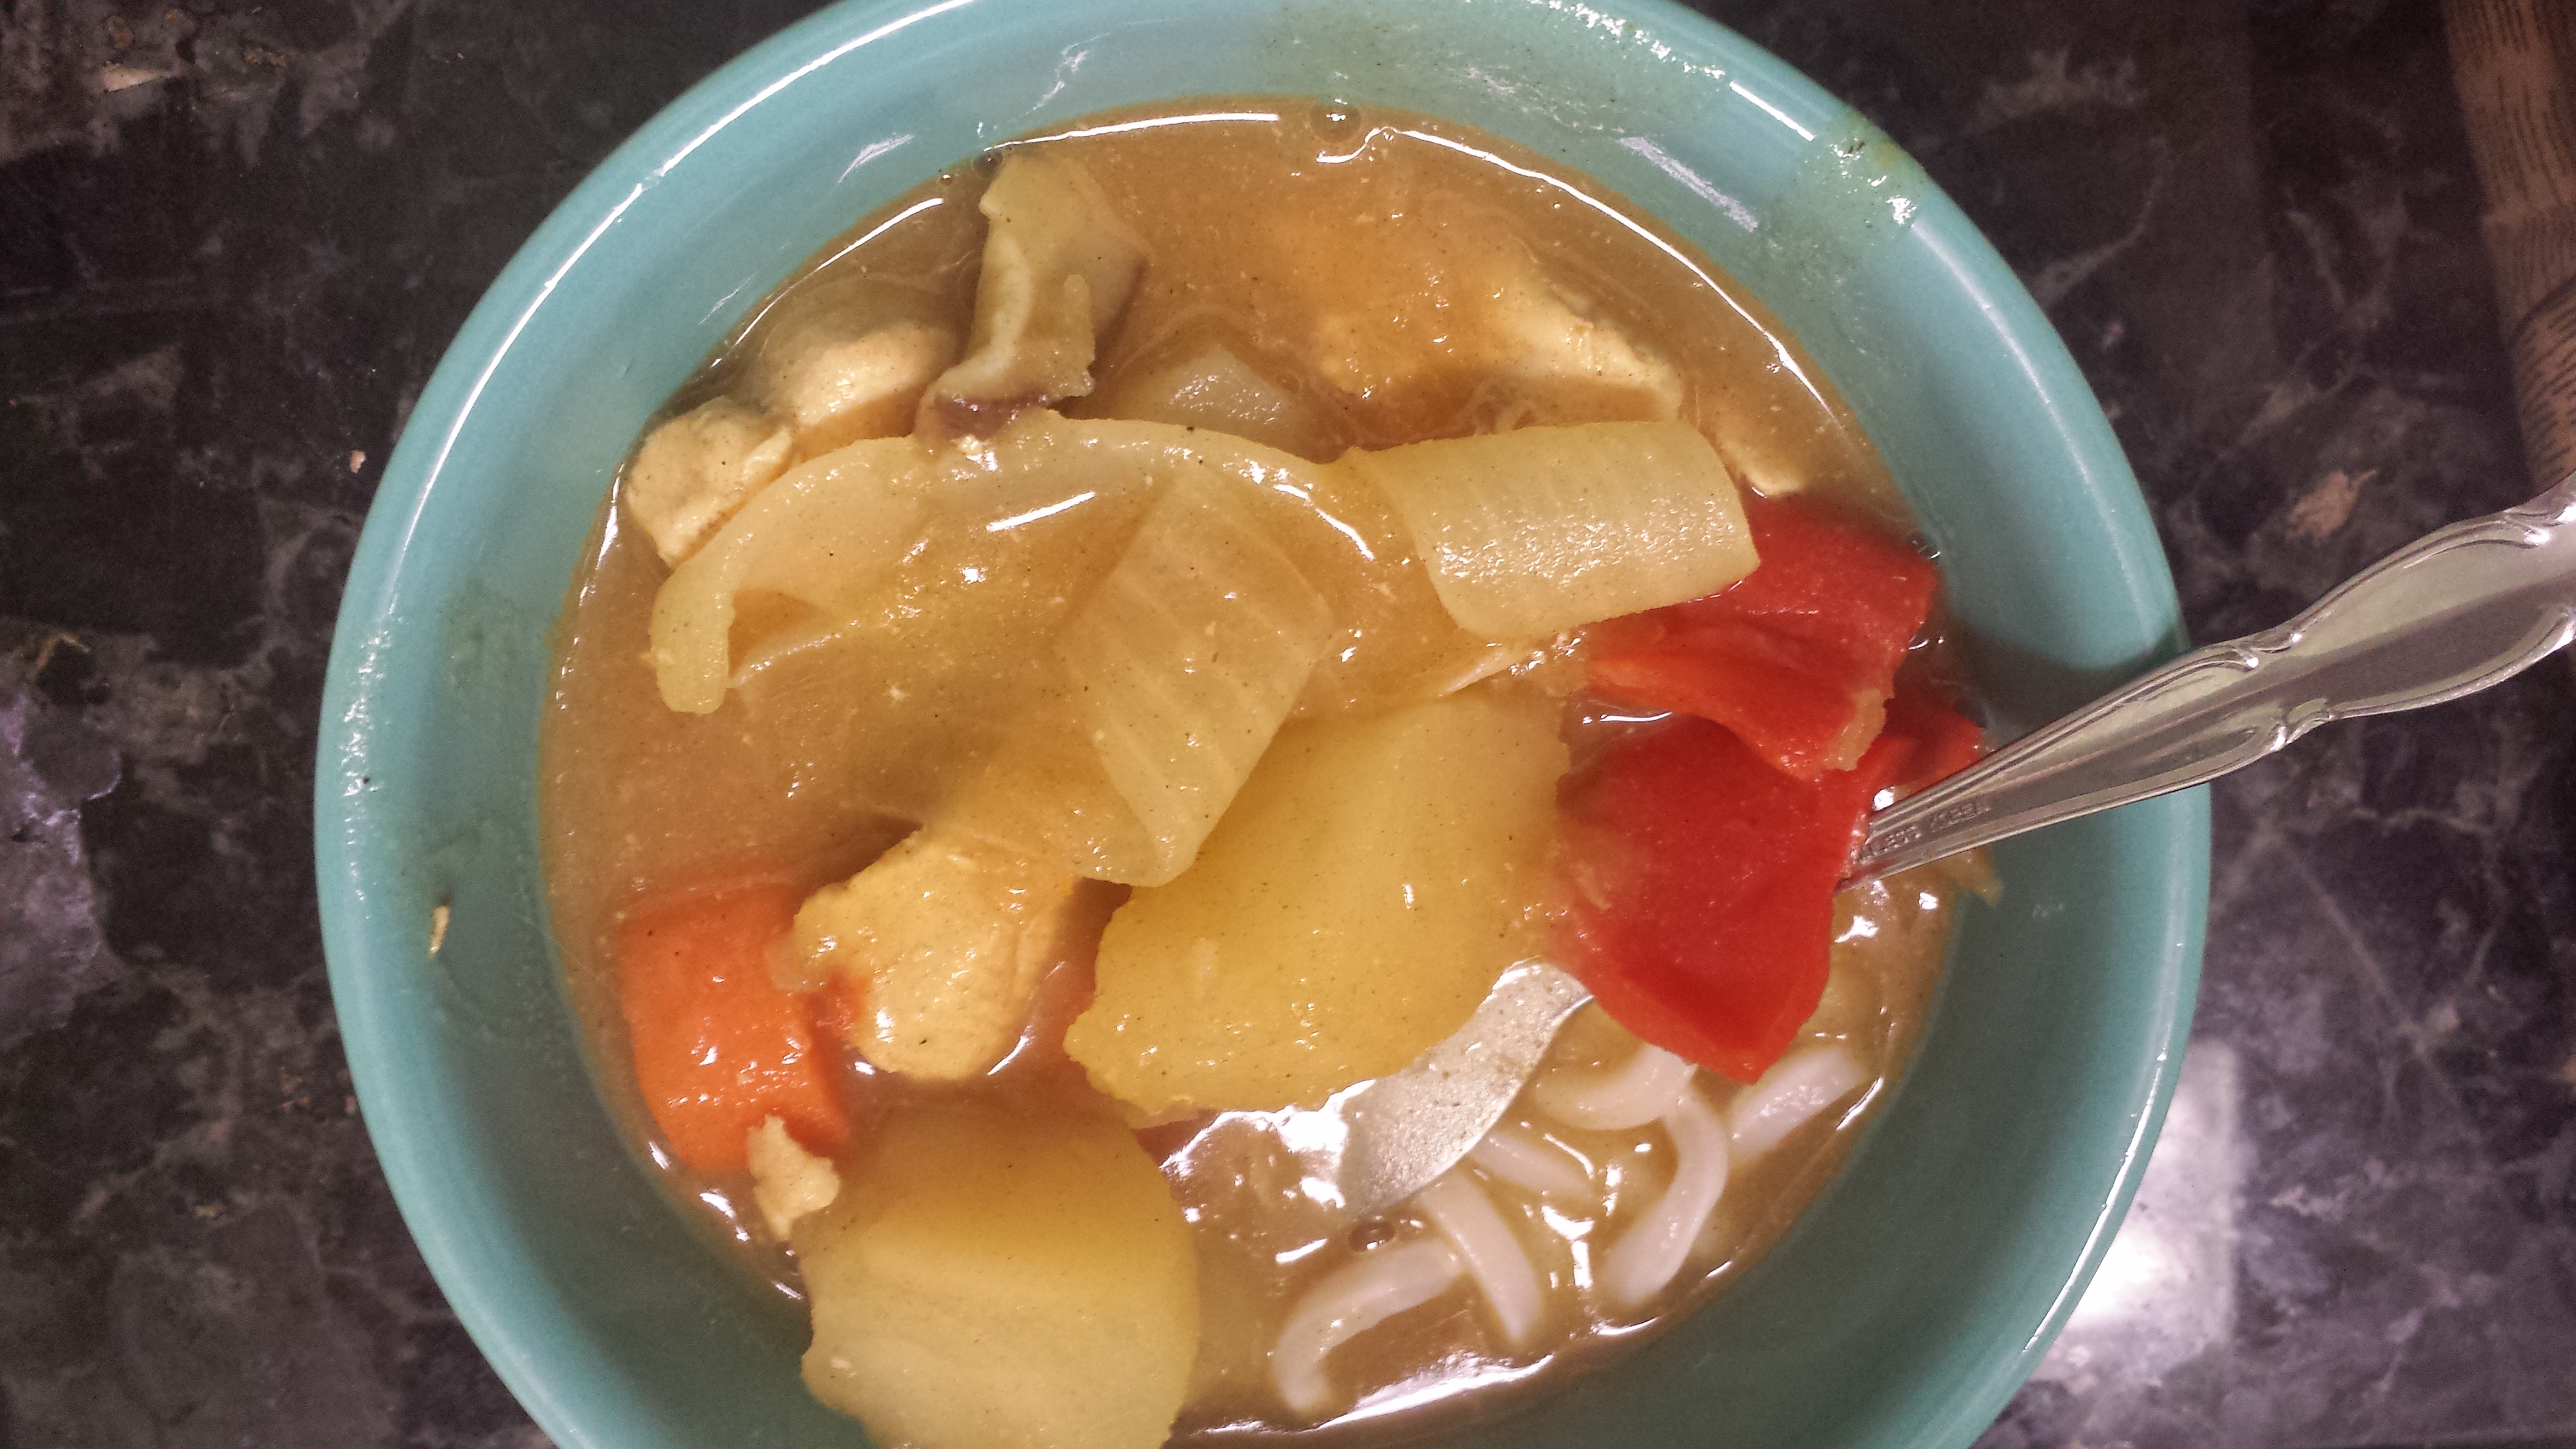
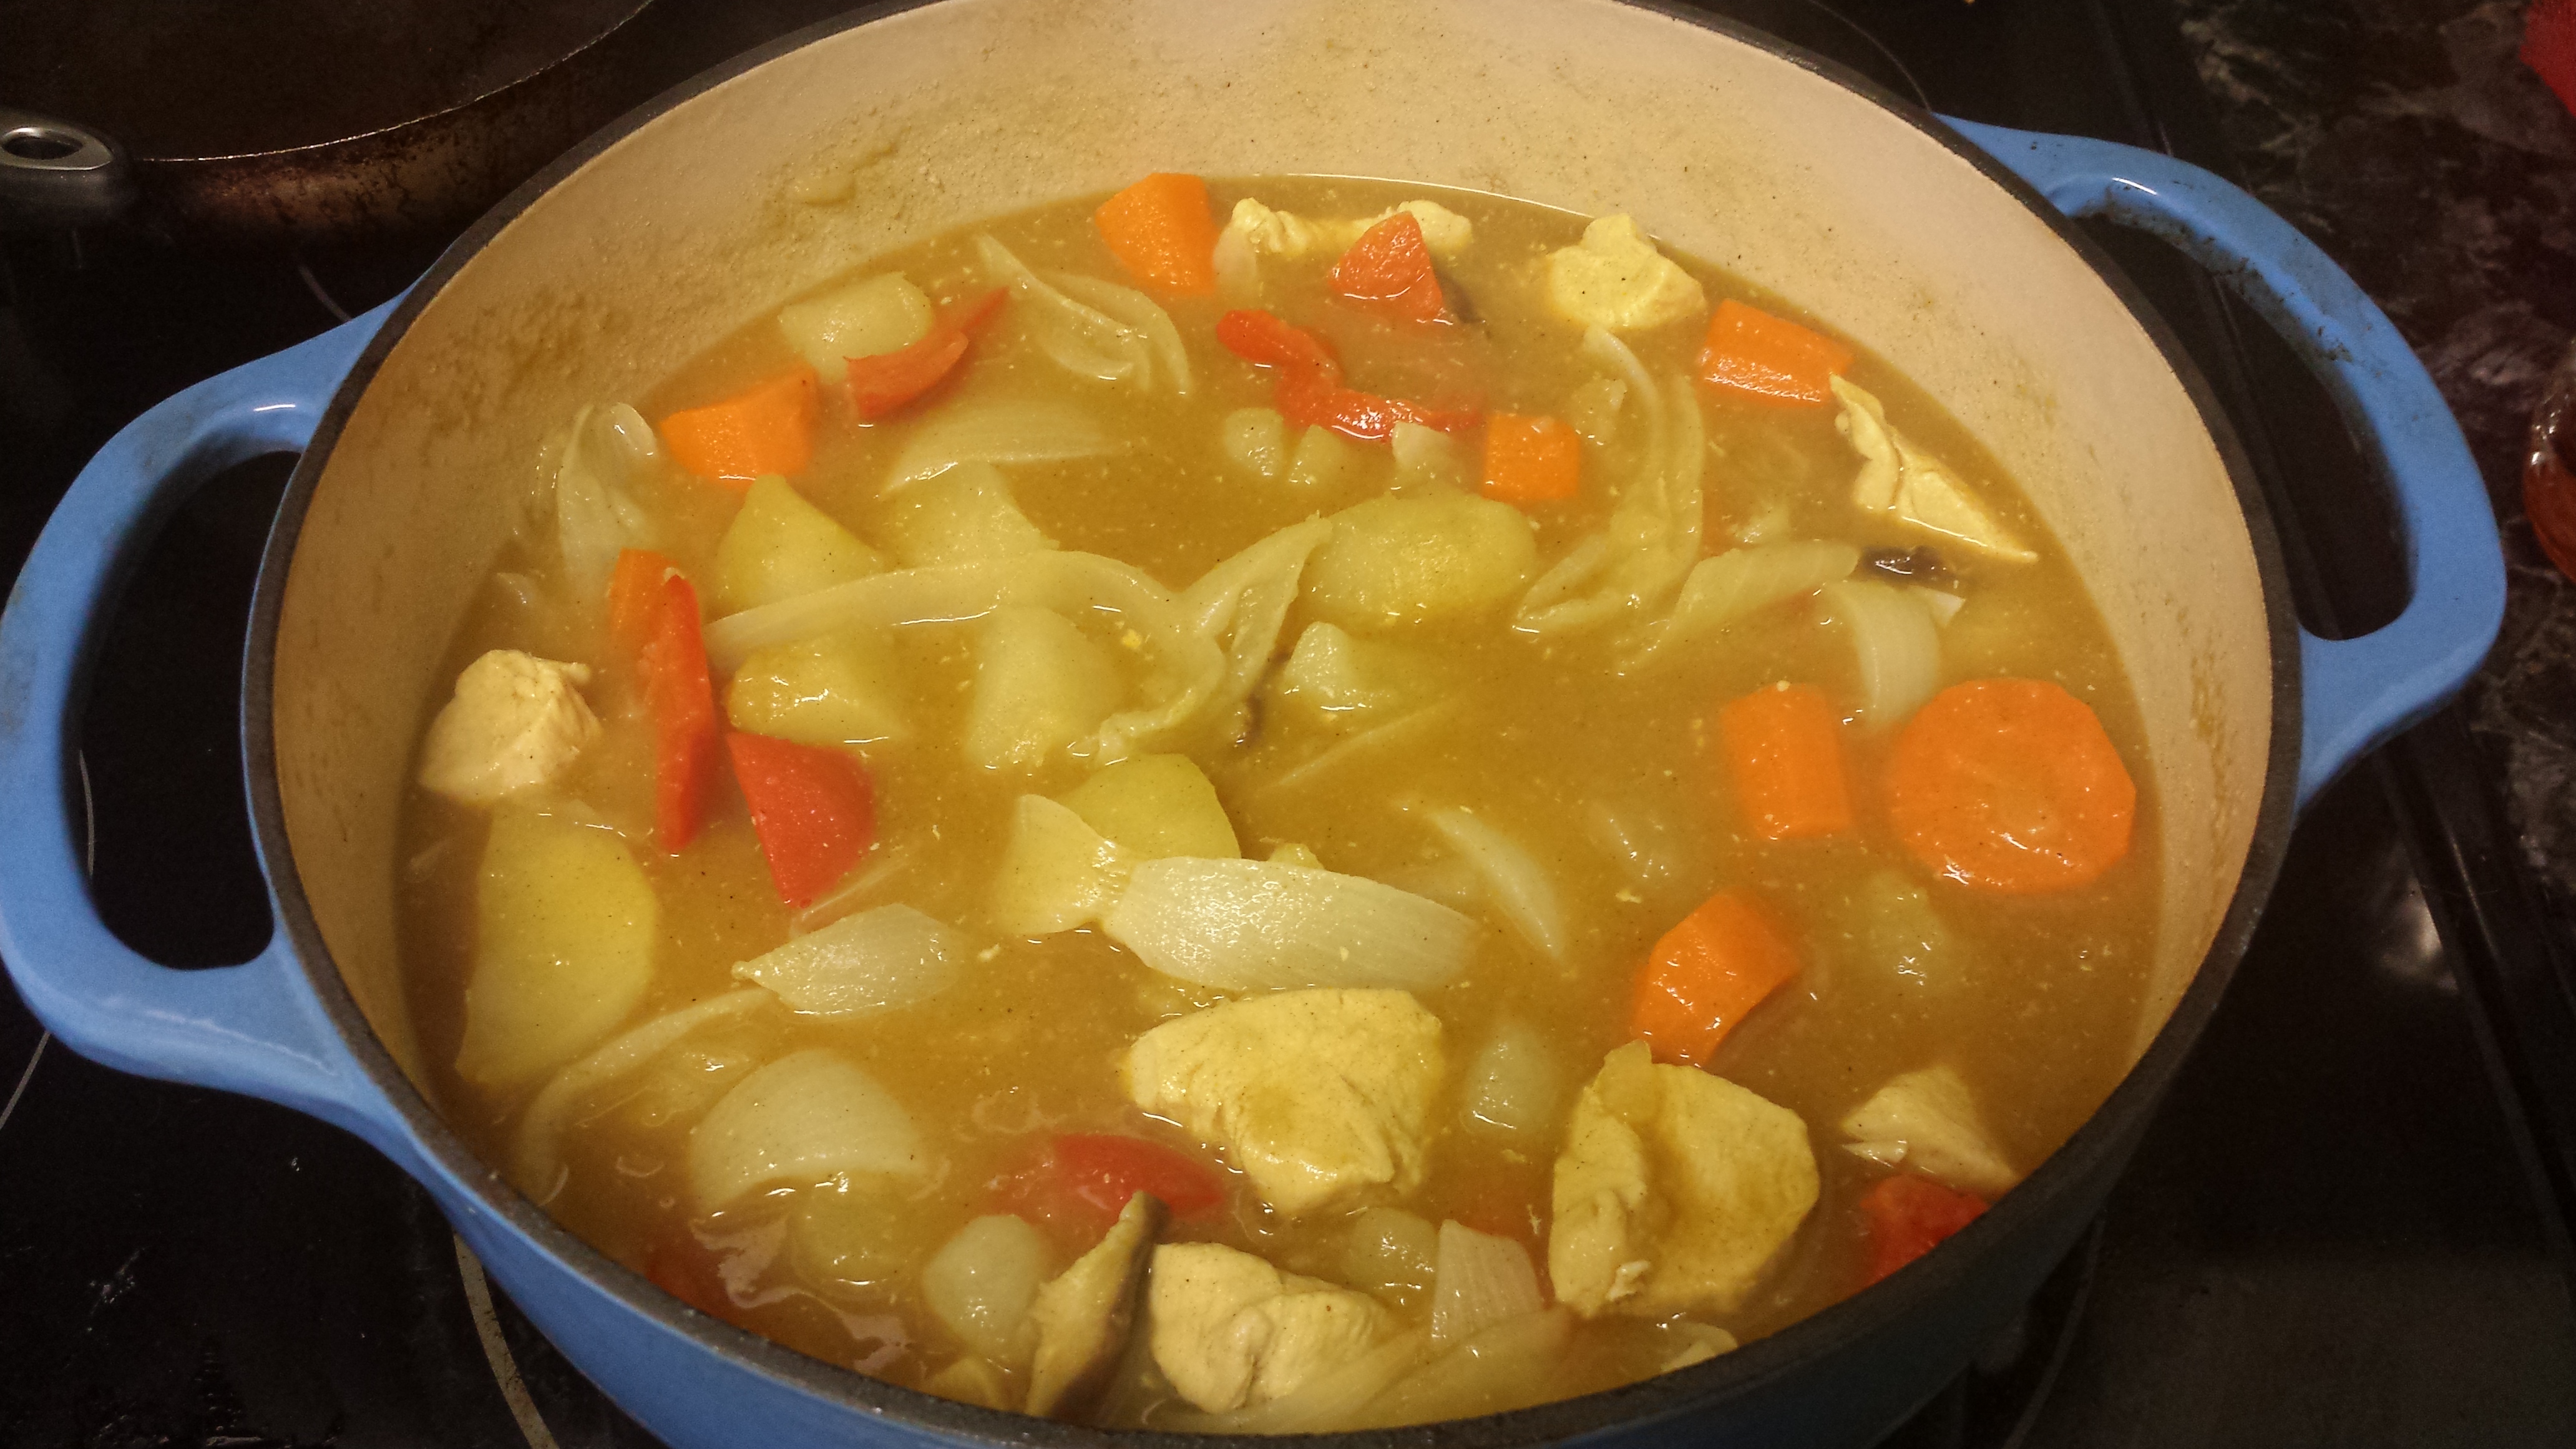
When you’ve added all the curry starter, it should look like the image below. It’s not ready yet though! Boil the curry for another 5 minutes to help it thicken. Once it’s reached the desired thickness, you may enjoy!
Note: if your curry isn’t thickening, try adding some flour and water to speed the process. I’ve done this before when in a hurry.
Another Note: Curry is usually better the second day, so make enough to reheat. Here is my curry deliciousness scale:
Day 1: Good
Day 2: Amazing
Day 3: Amazing
Day 4: Why haven’t you finished your curry, it’s so good?
Make a big batch so you can freeze some; it freezes really well and is a wonderful rainy day meal.