Strawberry Cake in Japan has so thoroughly pervaded the dessert scene that it tends to be the go-to cake for any occasion. Christmas Cake? Check. Birthday Cake? Check. Cake with Tea Time? Definitely. I’ve never been to a cake store or bakery in Japan that didn’t have Strawberry Cake.
Unfortunately, Japanese-style Strawberry Cake cannot be easily found state-side; and when I returned from Japan, I experienced some serious cake-withdrawals. So what is a girl to do? Scour the internet for the perfect recipe! Enter: Cooking with Dog Christmas Cake with the perfect Strawberry Cake recipe to meet my cravings and general cake needs…
This cake is fluffy, mildly sweet, and filled with strawberry goodness. When I baked this recipe last week, I think we finished the entire cake in three days; not so good for the waist line but resistance was futile. A few quick recommendations on this recipe:
- I doubled the original and will re-post the ingredients and instructions below. However, please watch the Cooking with Dog video, as this entire recipe comes from their channel and I’ve done nothing to modify it.
- Another reason to watch the video, this recipe requires a high level of baking technique to get the fluffiness of the cake right. If you accidentally over-mix or under-mix anything; it can have disastrous consequences. The Cooking with Dog video is very clear on the mixing instructions and will be a great help to watch, even for the most seasoned baker.
- Make a double batch of the whipping cream just in case. You will want the extra for any mistakes (does anyone else have a habit of sticking their entire hand in freshly frosted cake by accident?), and you can always use it to dollop on fruit after the fact. The recipe below for the whipping cream is also doubled already from the original; you won’t need to double it again.
Now that I’ve had my piece, please enjoy this recipe!
Ingredients:
–CAKE–
6 Large Eggs
200 g Sugar
180 g All-Purpose Flour – Cooking with Dog says this has to be cake flour. I’ve never been worried too much about the final product falling a bit flat, so I just use standard AP. The Cake flour isn’t always easy to find. That being said, if you are really serious about producing a high-quality cake, use the cake flour.
30 g Unsalted Butter
1 tbsp Milk
–Soaking Syrup–
2 tbsp Sugar
3 tbsp Hot Water
–Whipping Cream–
800 mL Whipping Cream
3 tbsp Sugar
Strawberries – Buy about 1 lb of strawberries. You will want at least 8 good-looking, similarly sized strawberries for the top and another 5-8 for the center (depending on the diameter of your cake and the size of the strawberries.
Start by selecting the pan you wish to use; I recommend an 8-in diameter 3-in deep round for my recipe (which has been doubled). I believe the host of Cooking with Dog uses a 6-in round pan. Line your pan with parchment paper, one round piece on the bottom and a 3-in wide piece around the side.
Next, preheat your oven to 320 degrees. I realize this is a really odd number; but trust me, 320 is the correct temperature. Do not use 350 for this recipe or your cake’s edges will cook too quickly and the center will over-rise. Your cake will come out looking dome-like. I also wouldn’t recommend using heating cores. The fluffiness of the cake makes removing the cores very difficult without breaking the integrity of the cake in those areas. Cook it on low heat, and your cake will come out almost completely level on top.
Next, find a pot and a bowl pair where the bowl sits nicely on top of the pot. Fill the pot until about 1 to 2 in of water is touching the bottom of the bowl, then remove the bowl and set it aside. Bring the hot water to about 170 degrees; DO NOT BOIL IT. It should be steaming, but not simmering yet.
Start your batter by mixing the eggs in the bowl you set aside on low speed with a hand mixer. I don’t recommend a stand mixer for this recipe, you will need to heat the egg and sugar mixture over the pot of water. Once the egg is blended, add the 200 g of sugar and mix until it starts to froth. Cooking with Dog says 30 seconds; my hand mixer has really odd wire beaters that take forever to stiffen eggs, so it takes me 1-2 minutes to get to this stage. My recommendation here is to watch the video and beat the eggs until they look like the ones in the Cooking with Dog video, bubbly and slightly frothy.
Next, put the bowl over the heated water and continue to beat the mixture. At this point, I increase my mixing speed to medium-high; but again, I have really odd, wire-thin beaters that drive me insane. My recommendation would be to start medium-low and only increase the speed if your eggs aren’t stiffening at all.
Continue to beat the eggs as they turn a glossy yellow-white color. This change is important; if they aren’t changing color, increase the speed of your beaters. At this point, Cooking with Dog tells you to check and see if the temperature is “hot enough”. You are looking for two things:
- The sugar has all dissolved. When you rub the mixture between your fingers, do you still feel the granules? If yes, keep heating the mixture.
- When you stick your finger in the mixture it is bearable for about 6 seconds before starting to burn. This is a good litmus test for a lot of different types of recipes (for example yogurt and frosting). You might want to test it out with heating water first to get used to the point of when the heat is just right, when it’s almost just right, and when it is too much. When I first started making yogurt; I failed many batches because I overheated my milk in a stage very similar to this.
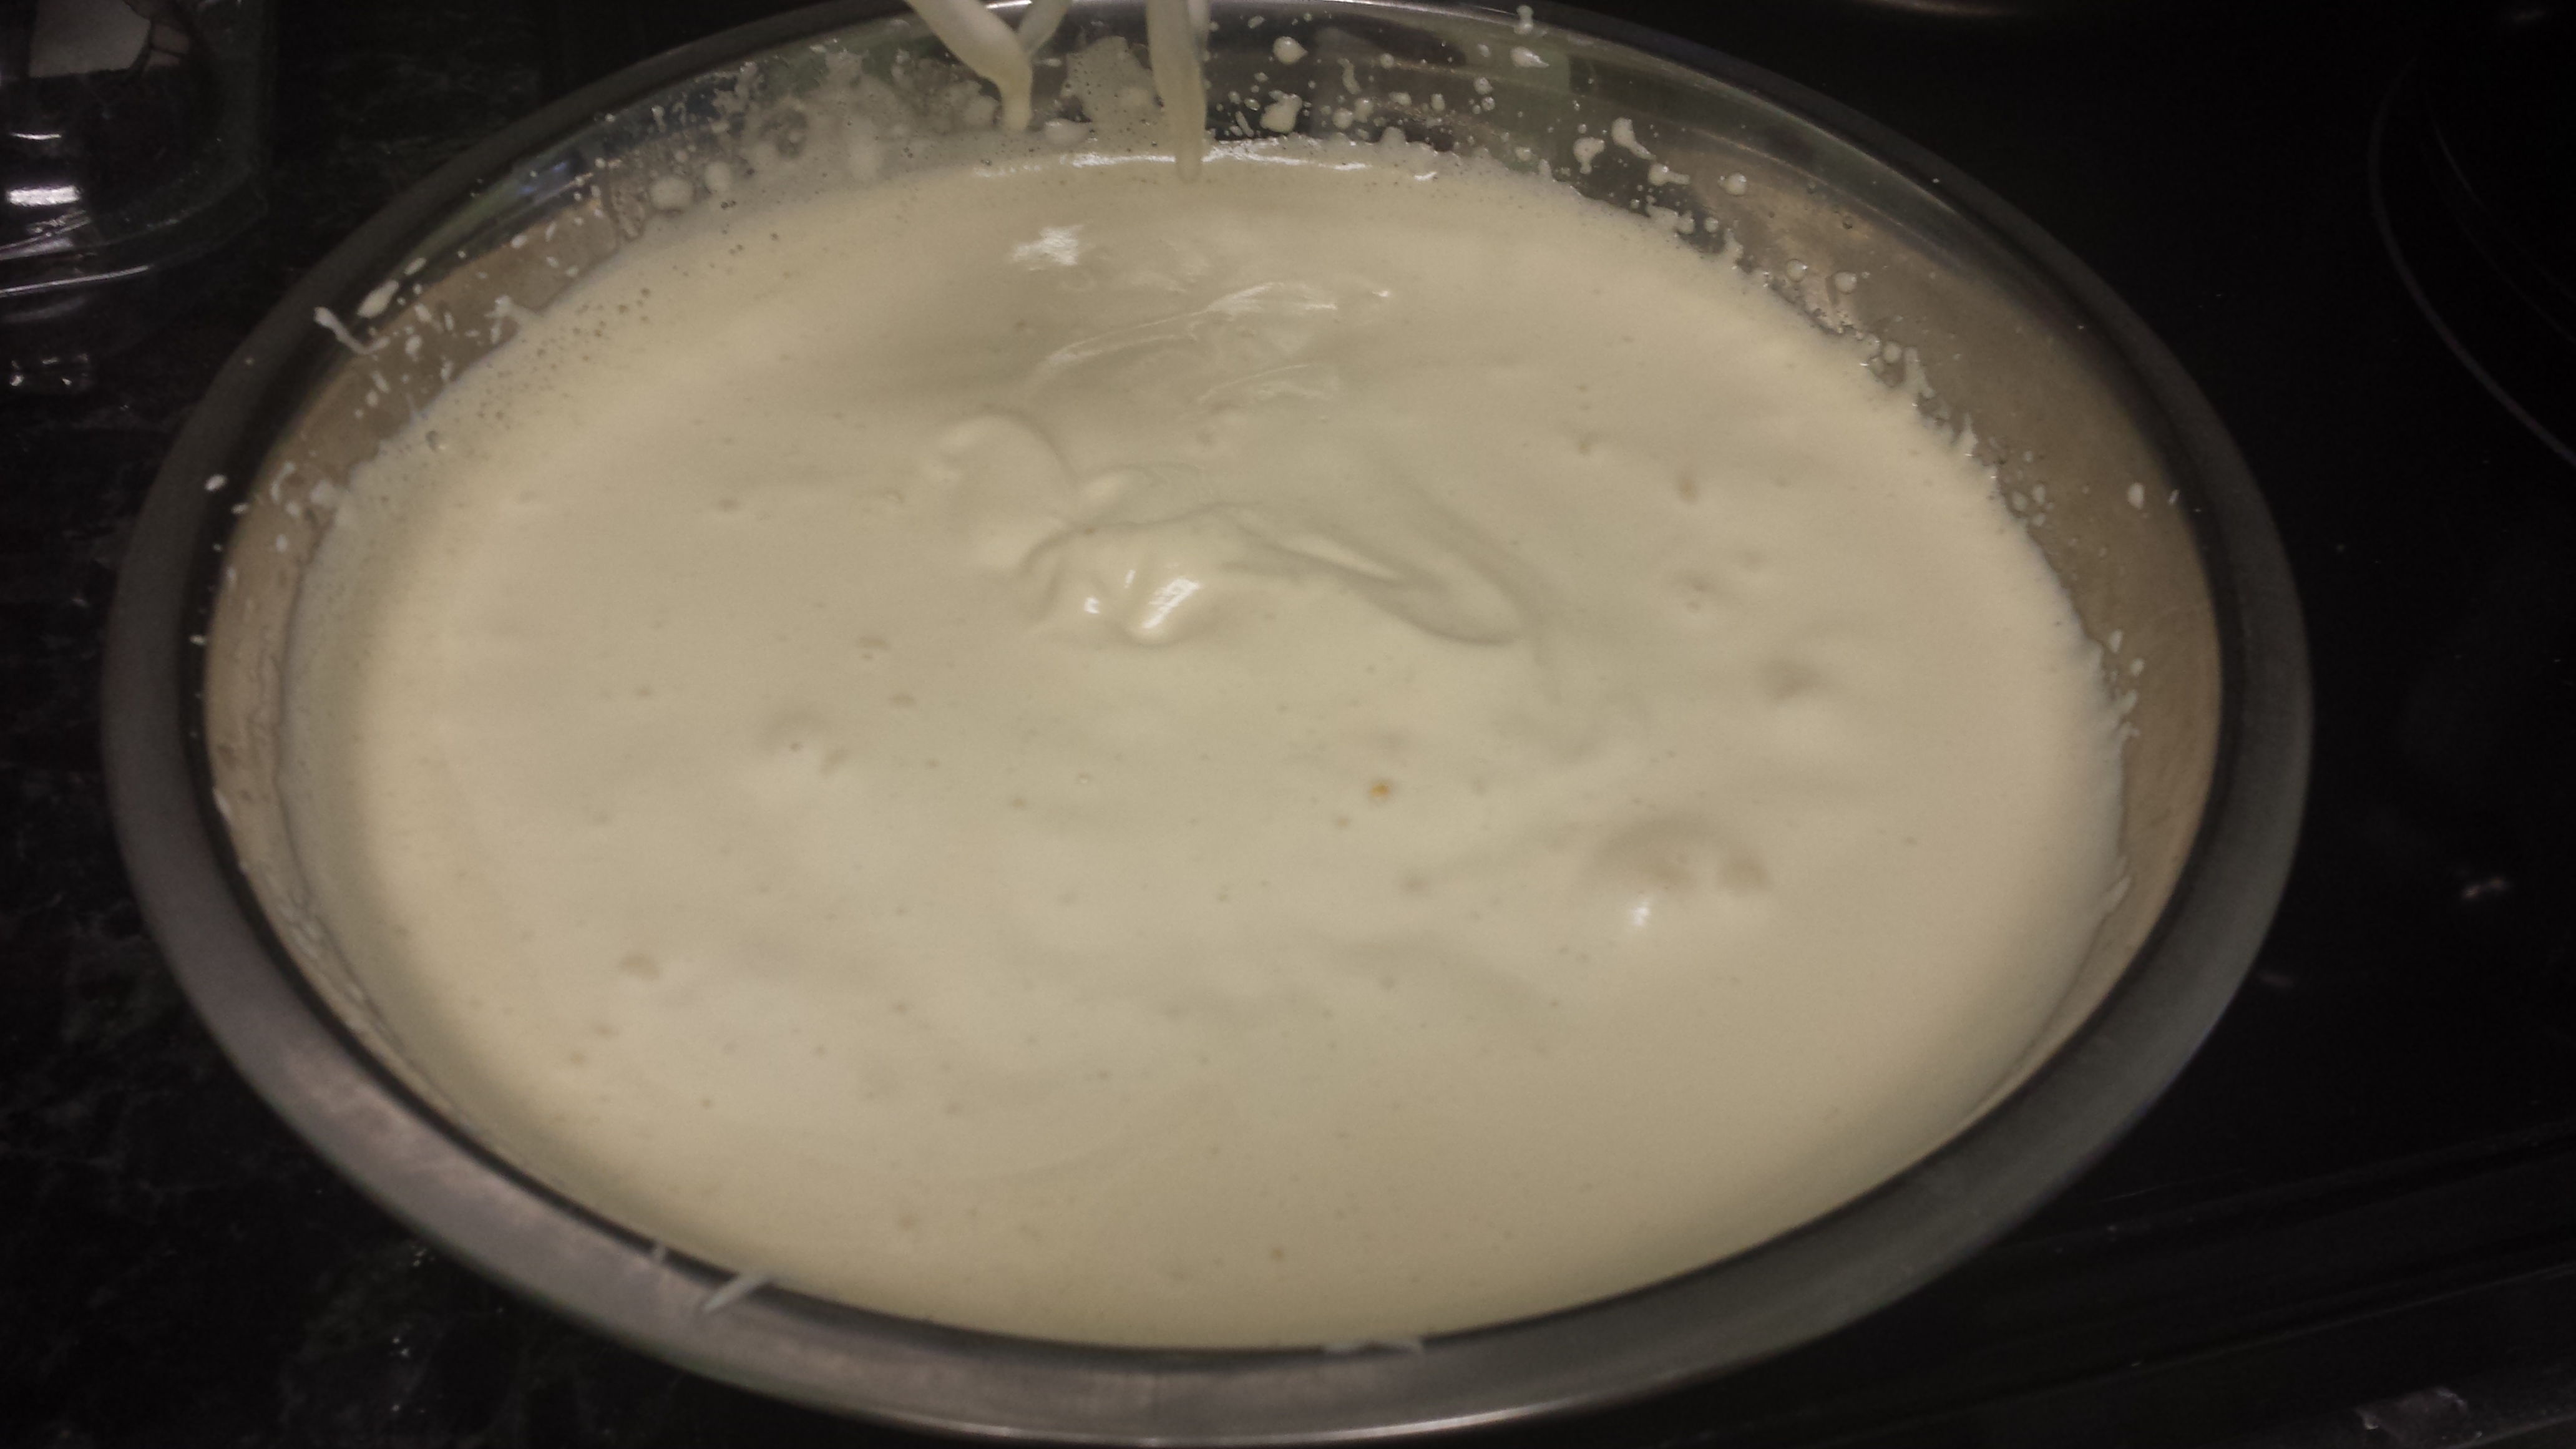
When both of these criteria are met, remove the eggs from the heat and continue beating them to soft peaks. Soft peaks is the stage in which you can lift your beaters from the mixture, and the trail that falls back into the eggs doesn’t disappear immediately. Again, watch the video, it’s very helpful in showing the correct consistency.
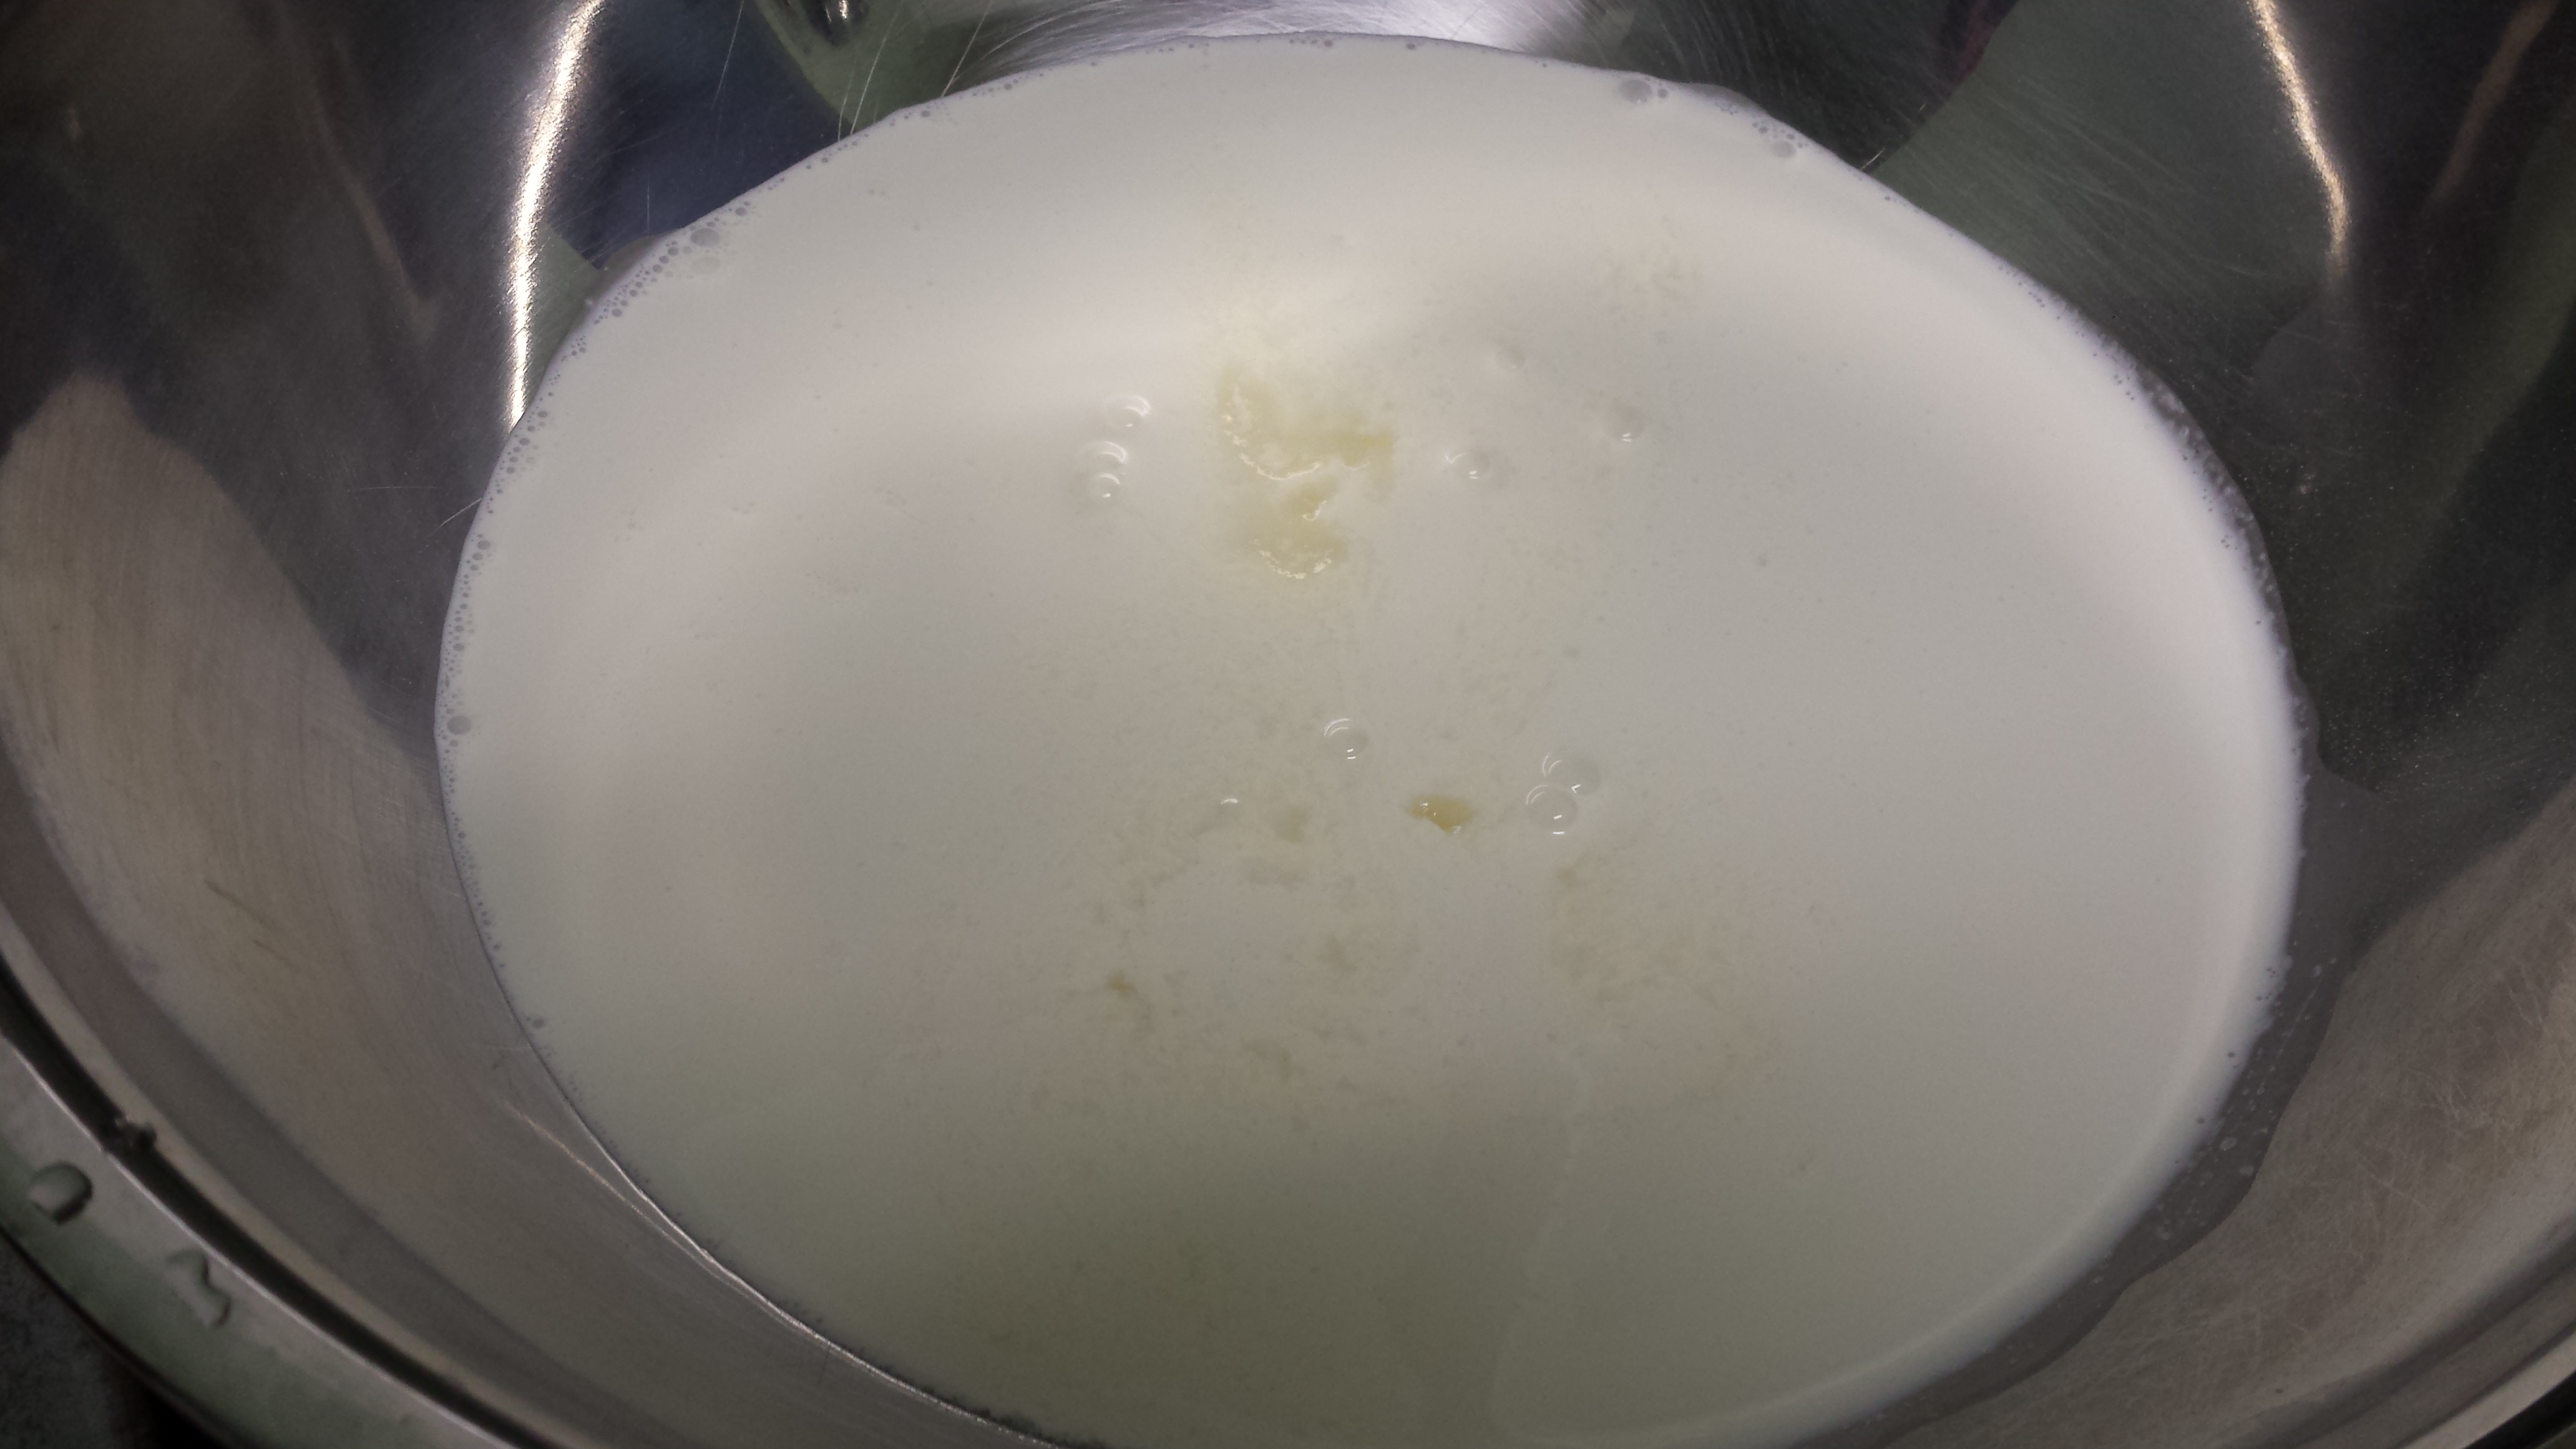
Put the milk and the butter in a container together and heat it. I like to heat it in the hot water from the previous steps, but you can microwave this mixture if you like. Heat it until the butter melts completely.
While the butter mixture is melting, beat your eggs briefly with a balloon whisk to make sure it’s all whipped evenly. Usually, it takes 4-5 strokes of the whisk. Sift the flour into your egg mixture and carefully incorporate it with gently strokes from the bottom of the bowl to the top using a rubber spatula. Your essentially pulling the egg from the bottom of the bowl and letting it drop on top of the flour in order to mix. Cooking with Dog suggests 30 strokes.


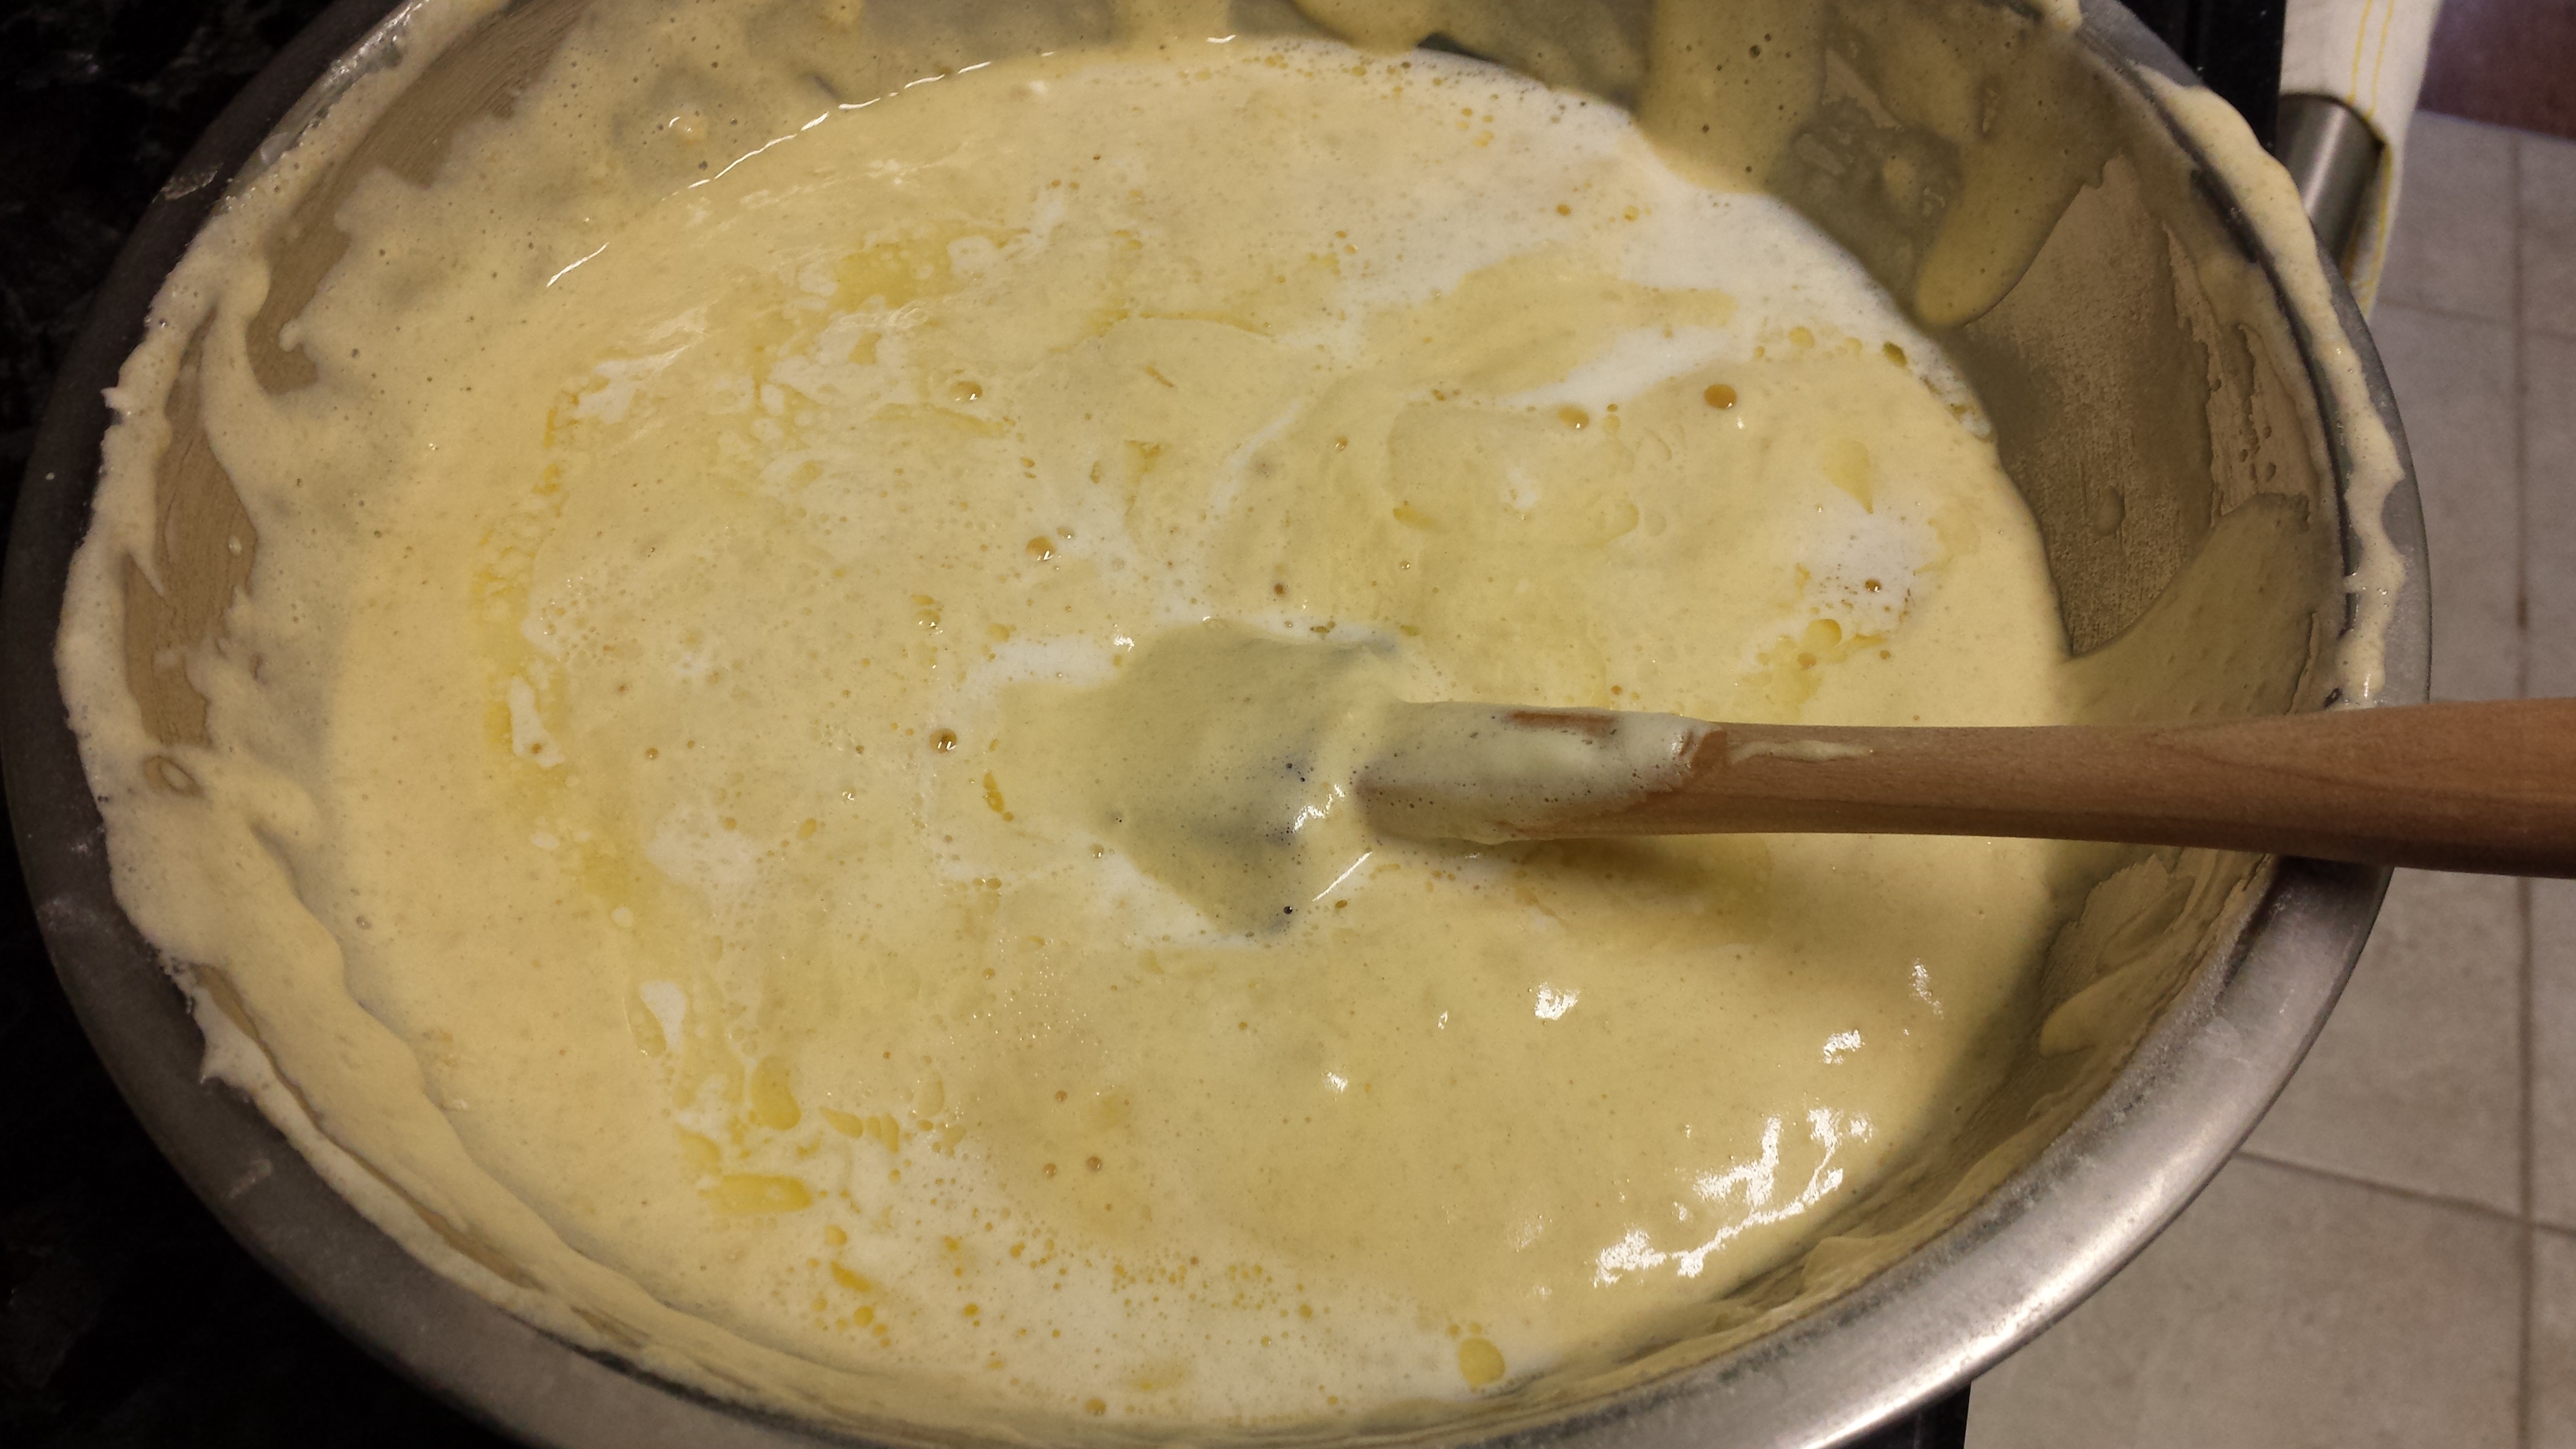
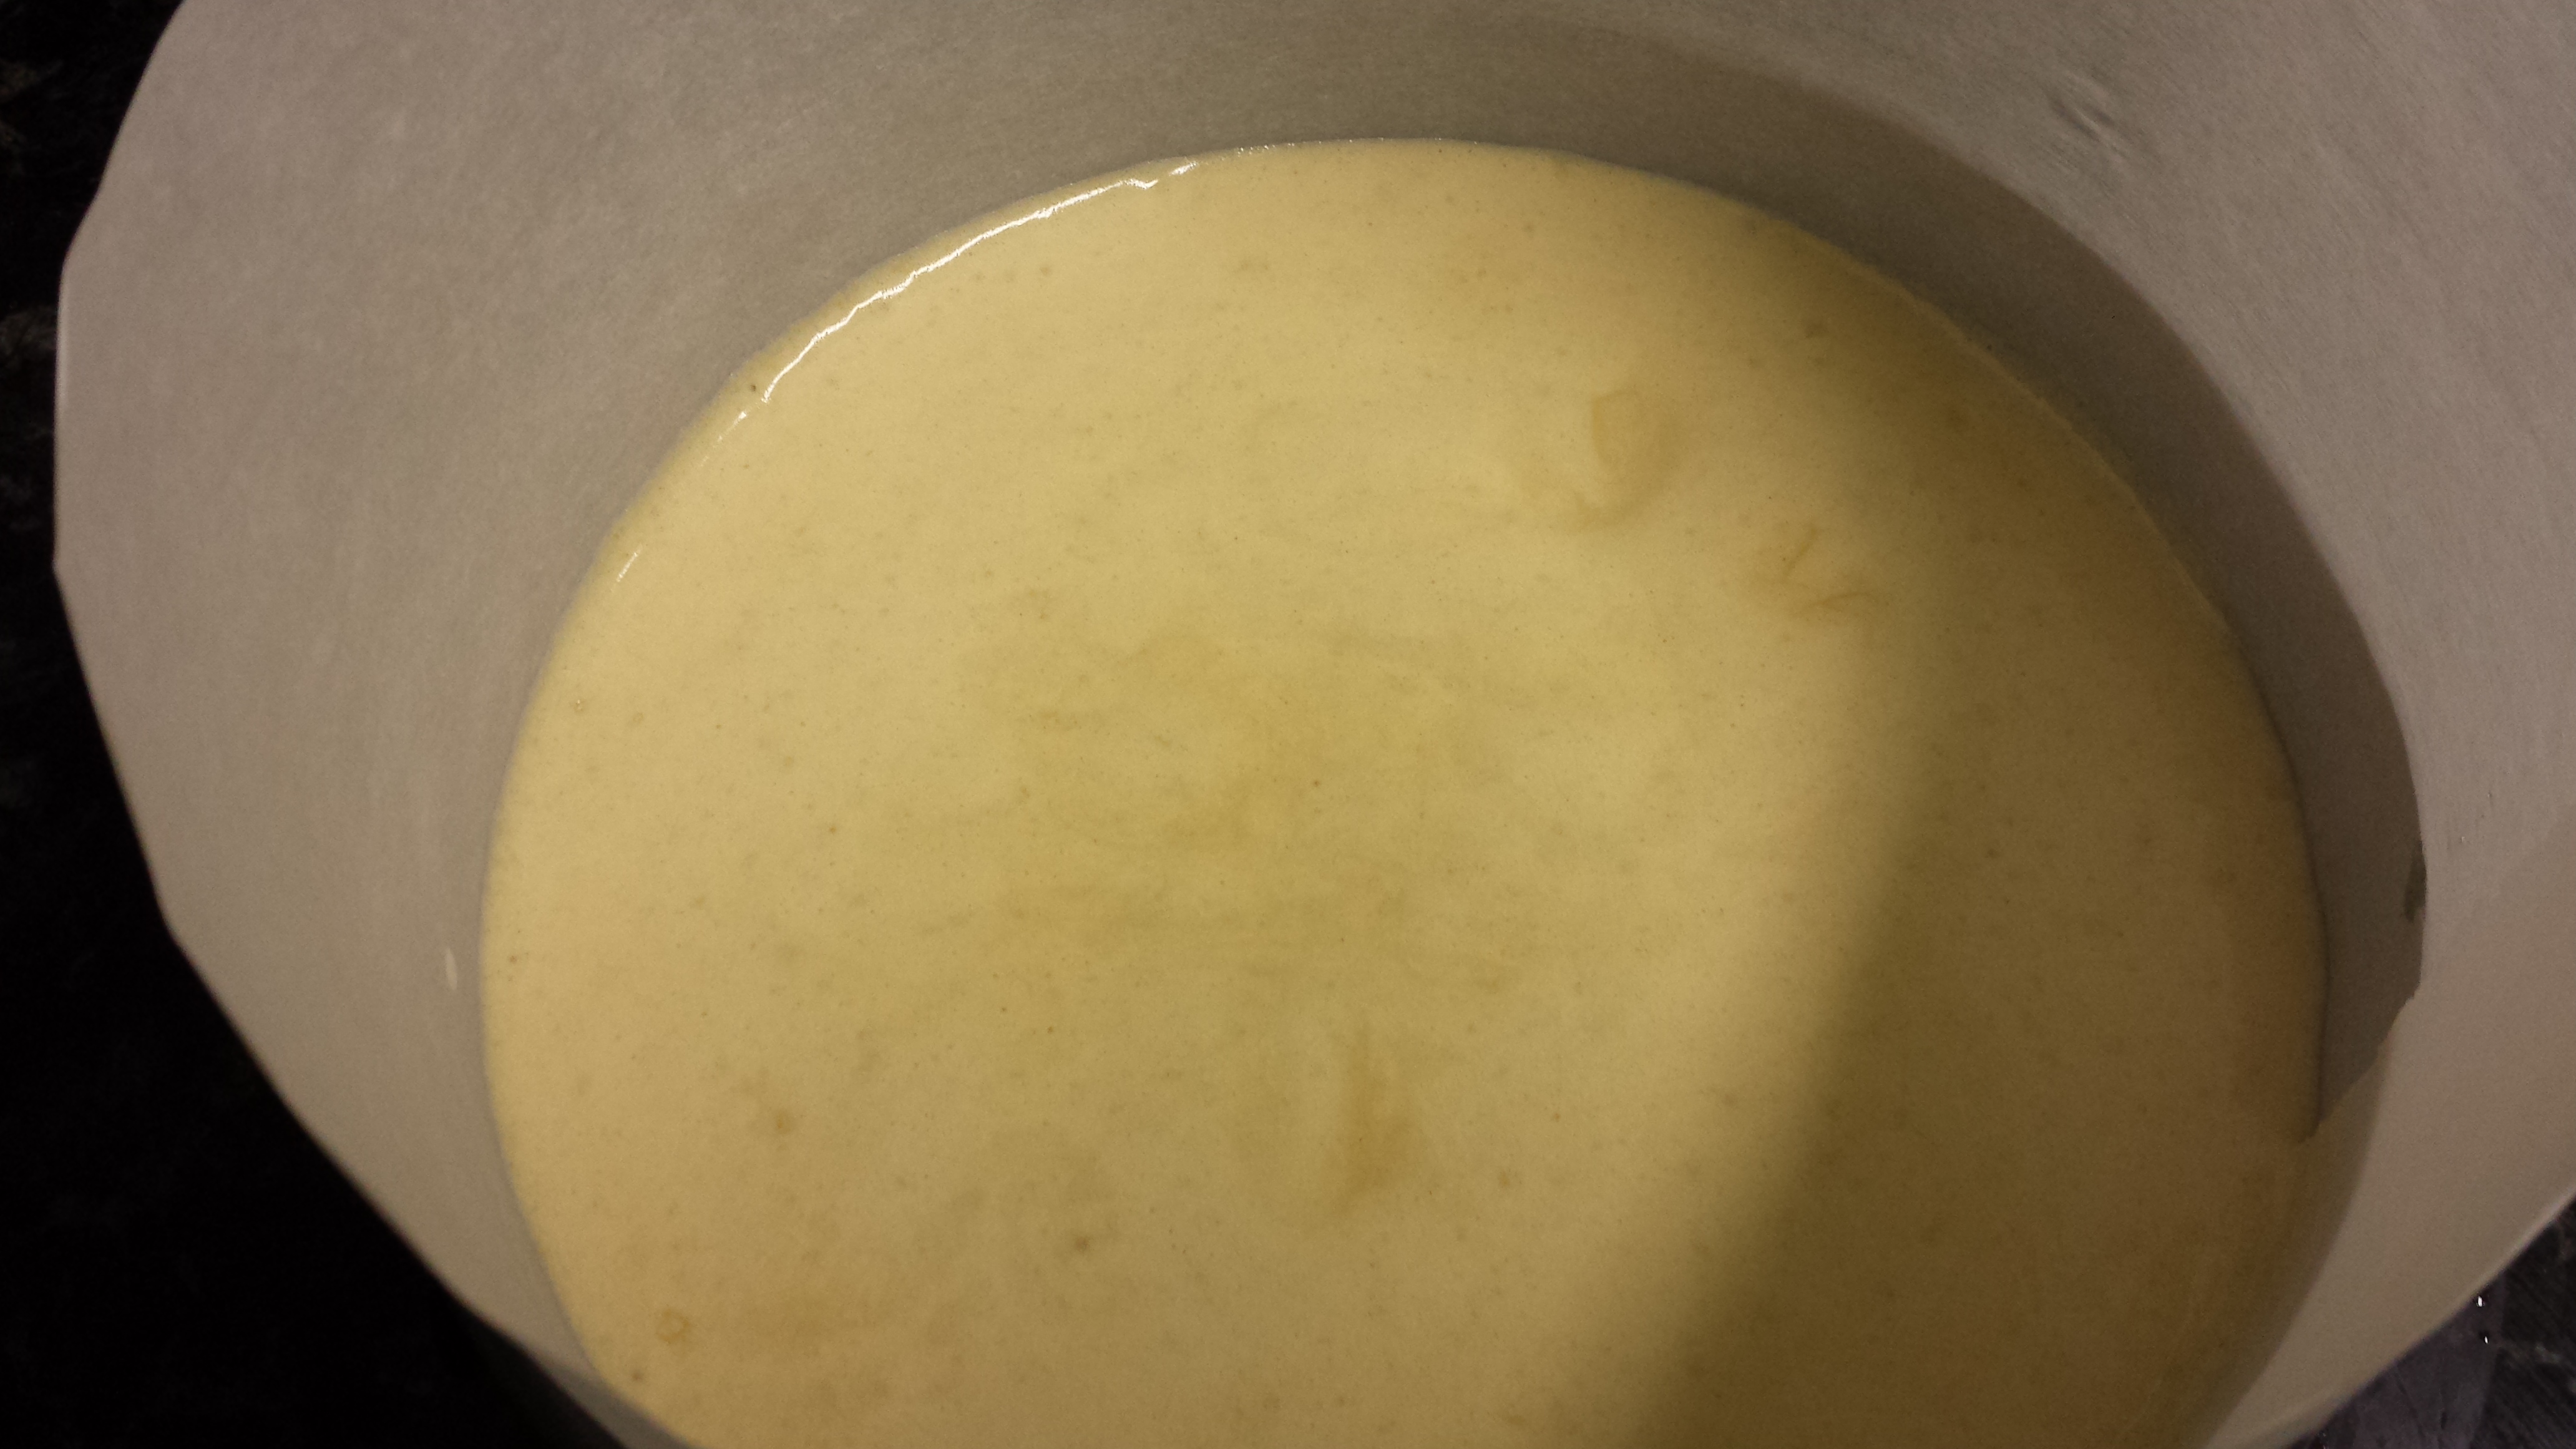
Next, add the butter mixture by pouring it evenly over the egg mixture. Continue mixing by pulling the batter from the bottom of the bowl up and over the top. Again, Cooking with Dog suggests 50 strokes until it becomes glossy and smooth. Pour immediately into the baking pan that’s been prepped with parchment paper.
NOTE: It helps to pour the batter with an extra set of hands. Have someone hold down the parchment paper, while you pour, or vice versa. This can be done with one set of hands, but two helps.
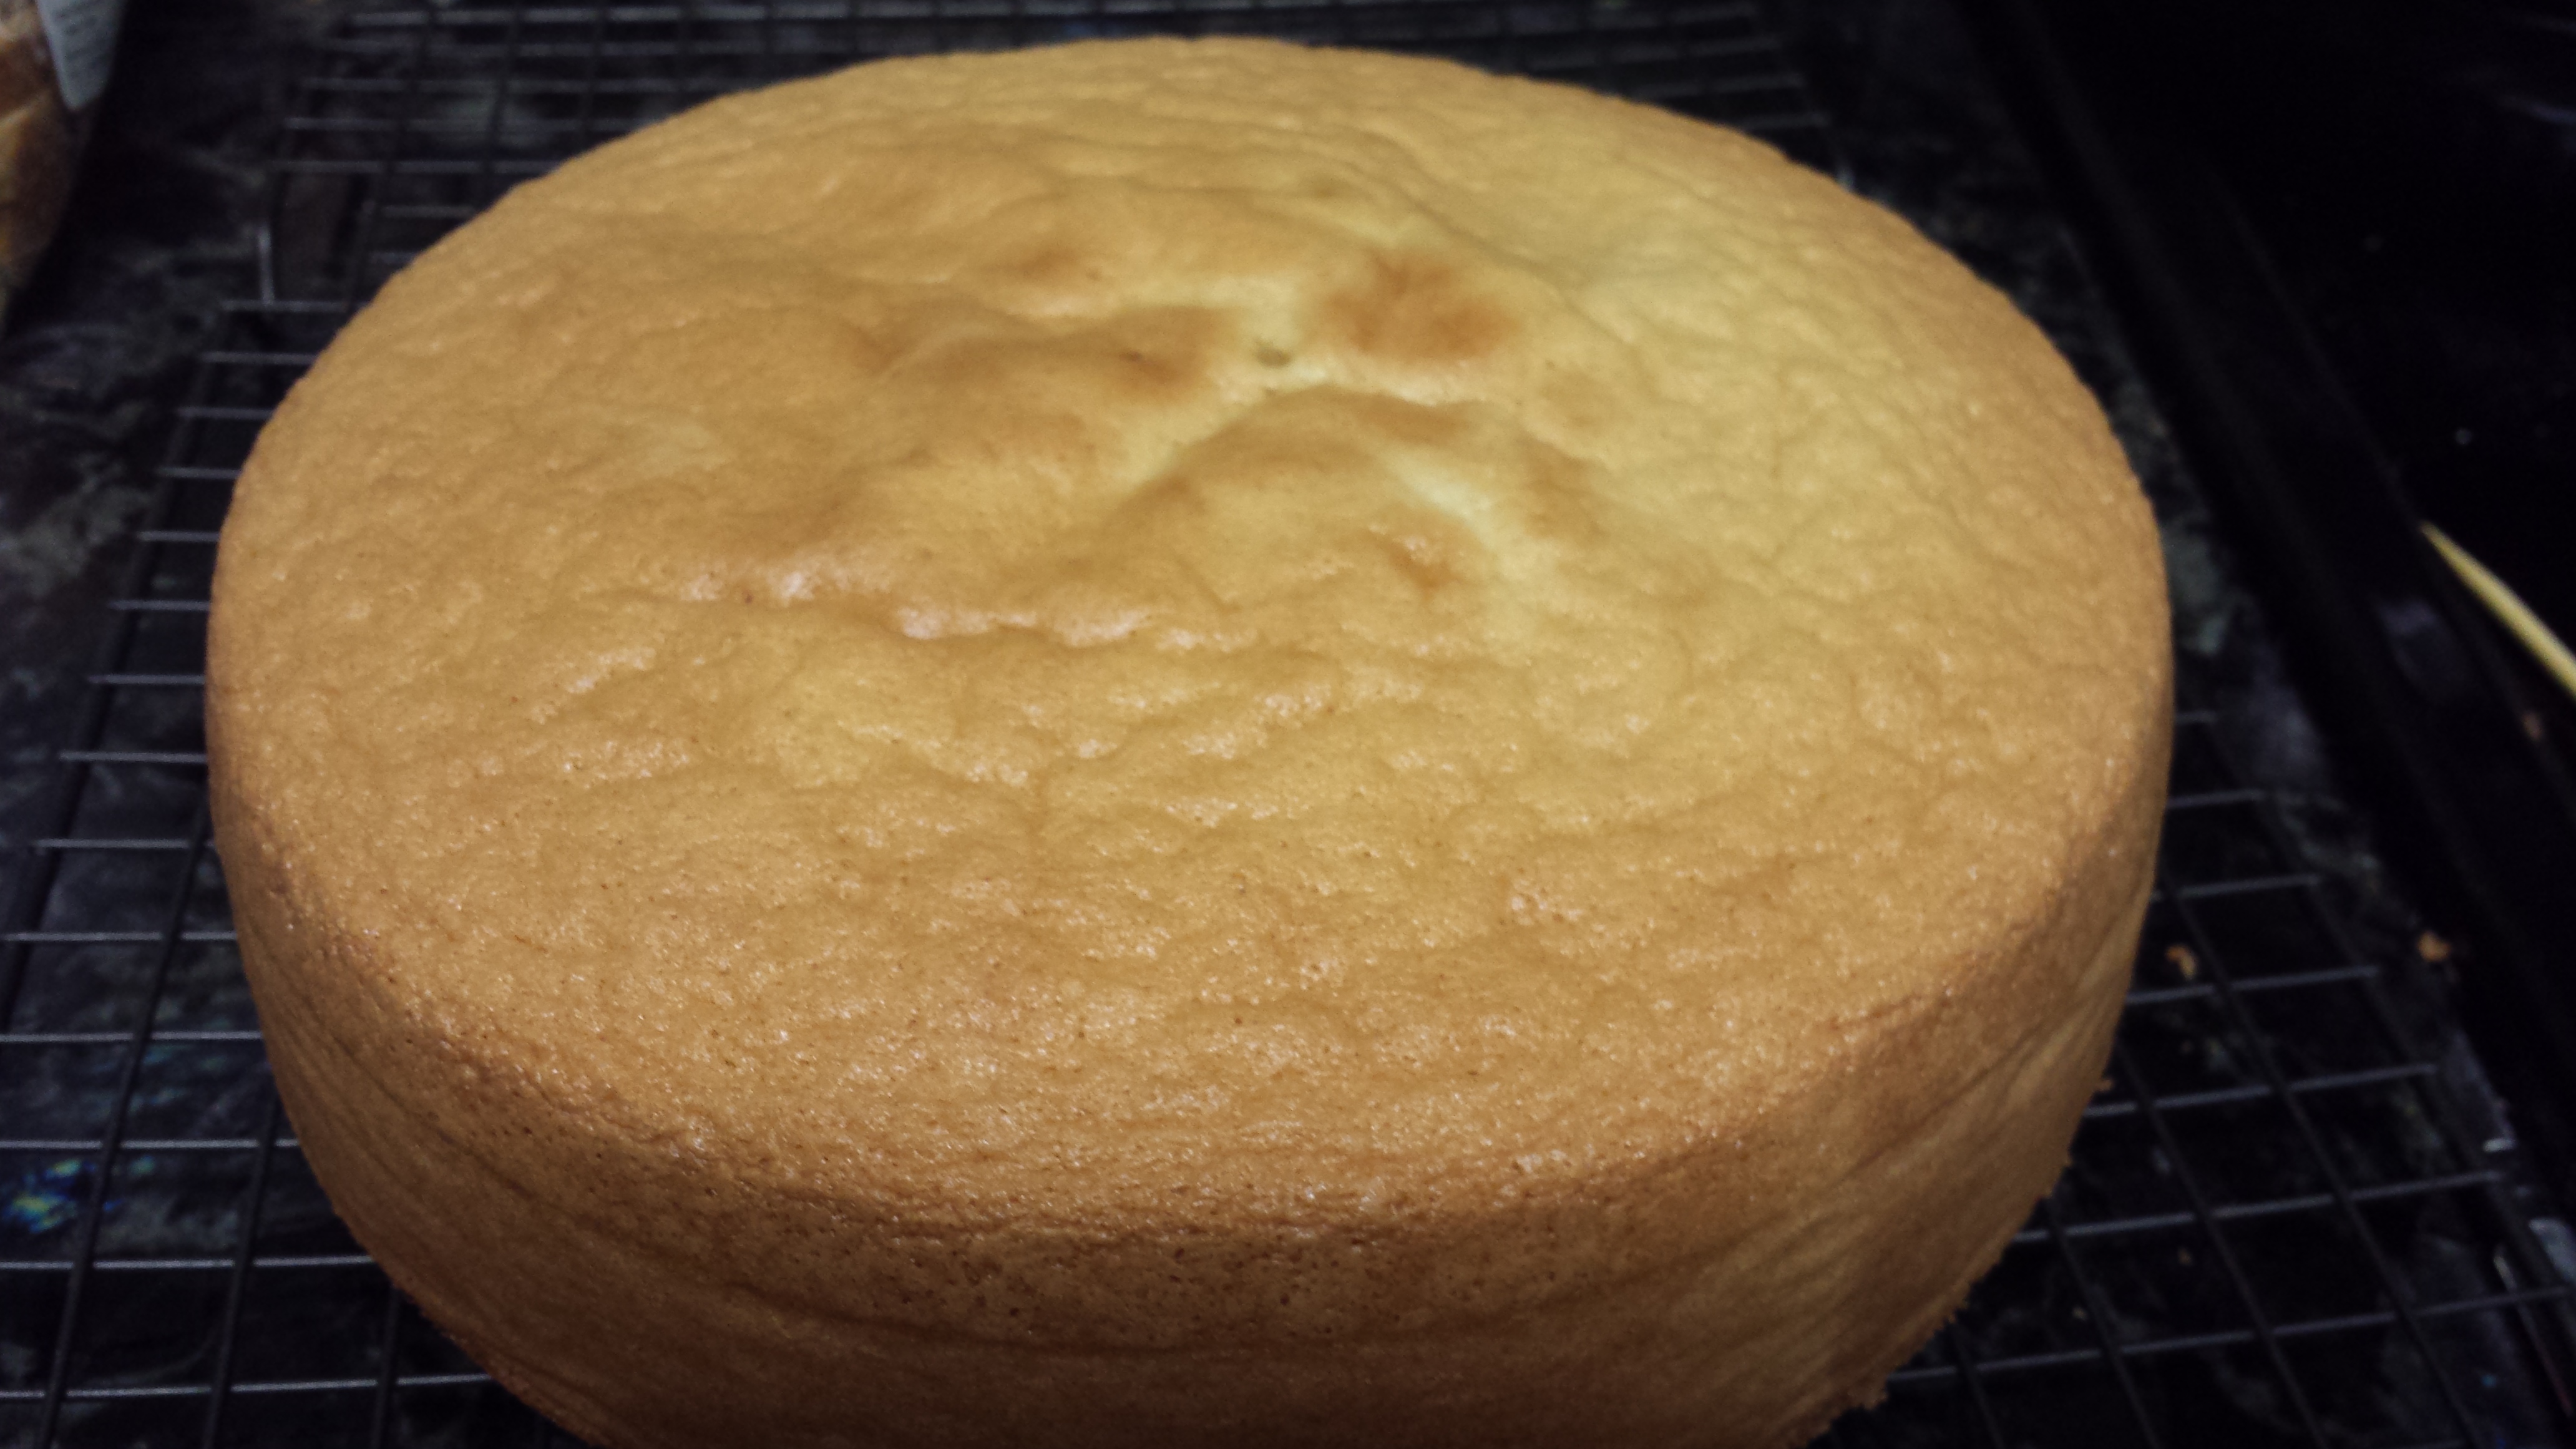
Drop the pan 3-4 times to release any bubbles, then place in the oven and bake for 23 minutes. My cake usually takes several minutes longer with the double recipe, so starting at 23 minutes and then check it every 2-3 minutes after with a tooth pick. It should not take more than 30 minutes in total to bake. When a toothpick stuck in the center comes out clean, it’s finished.
Remove the cake from the oven, flip it over gently onto a cooling rack (again see the video), and let it cool completely. Once cooled, it’s ready to decorate!
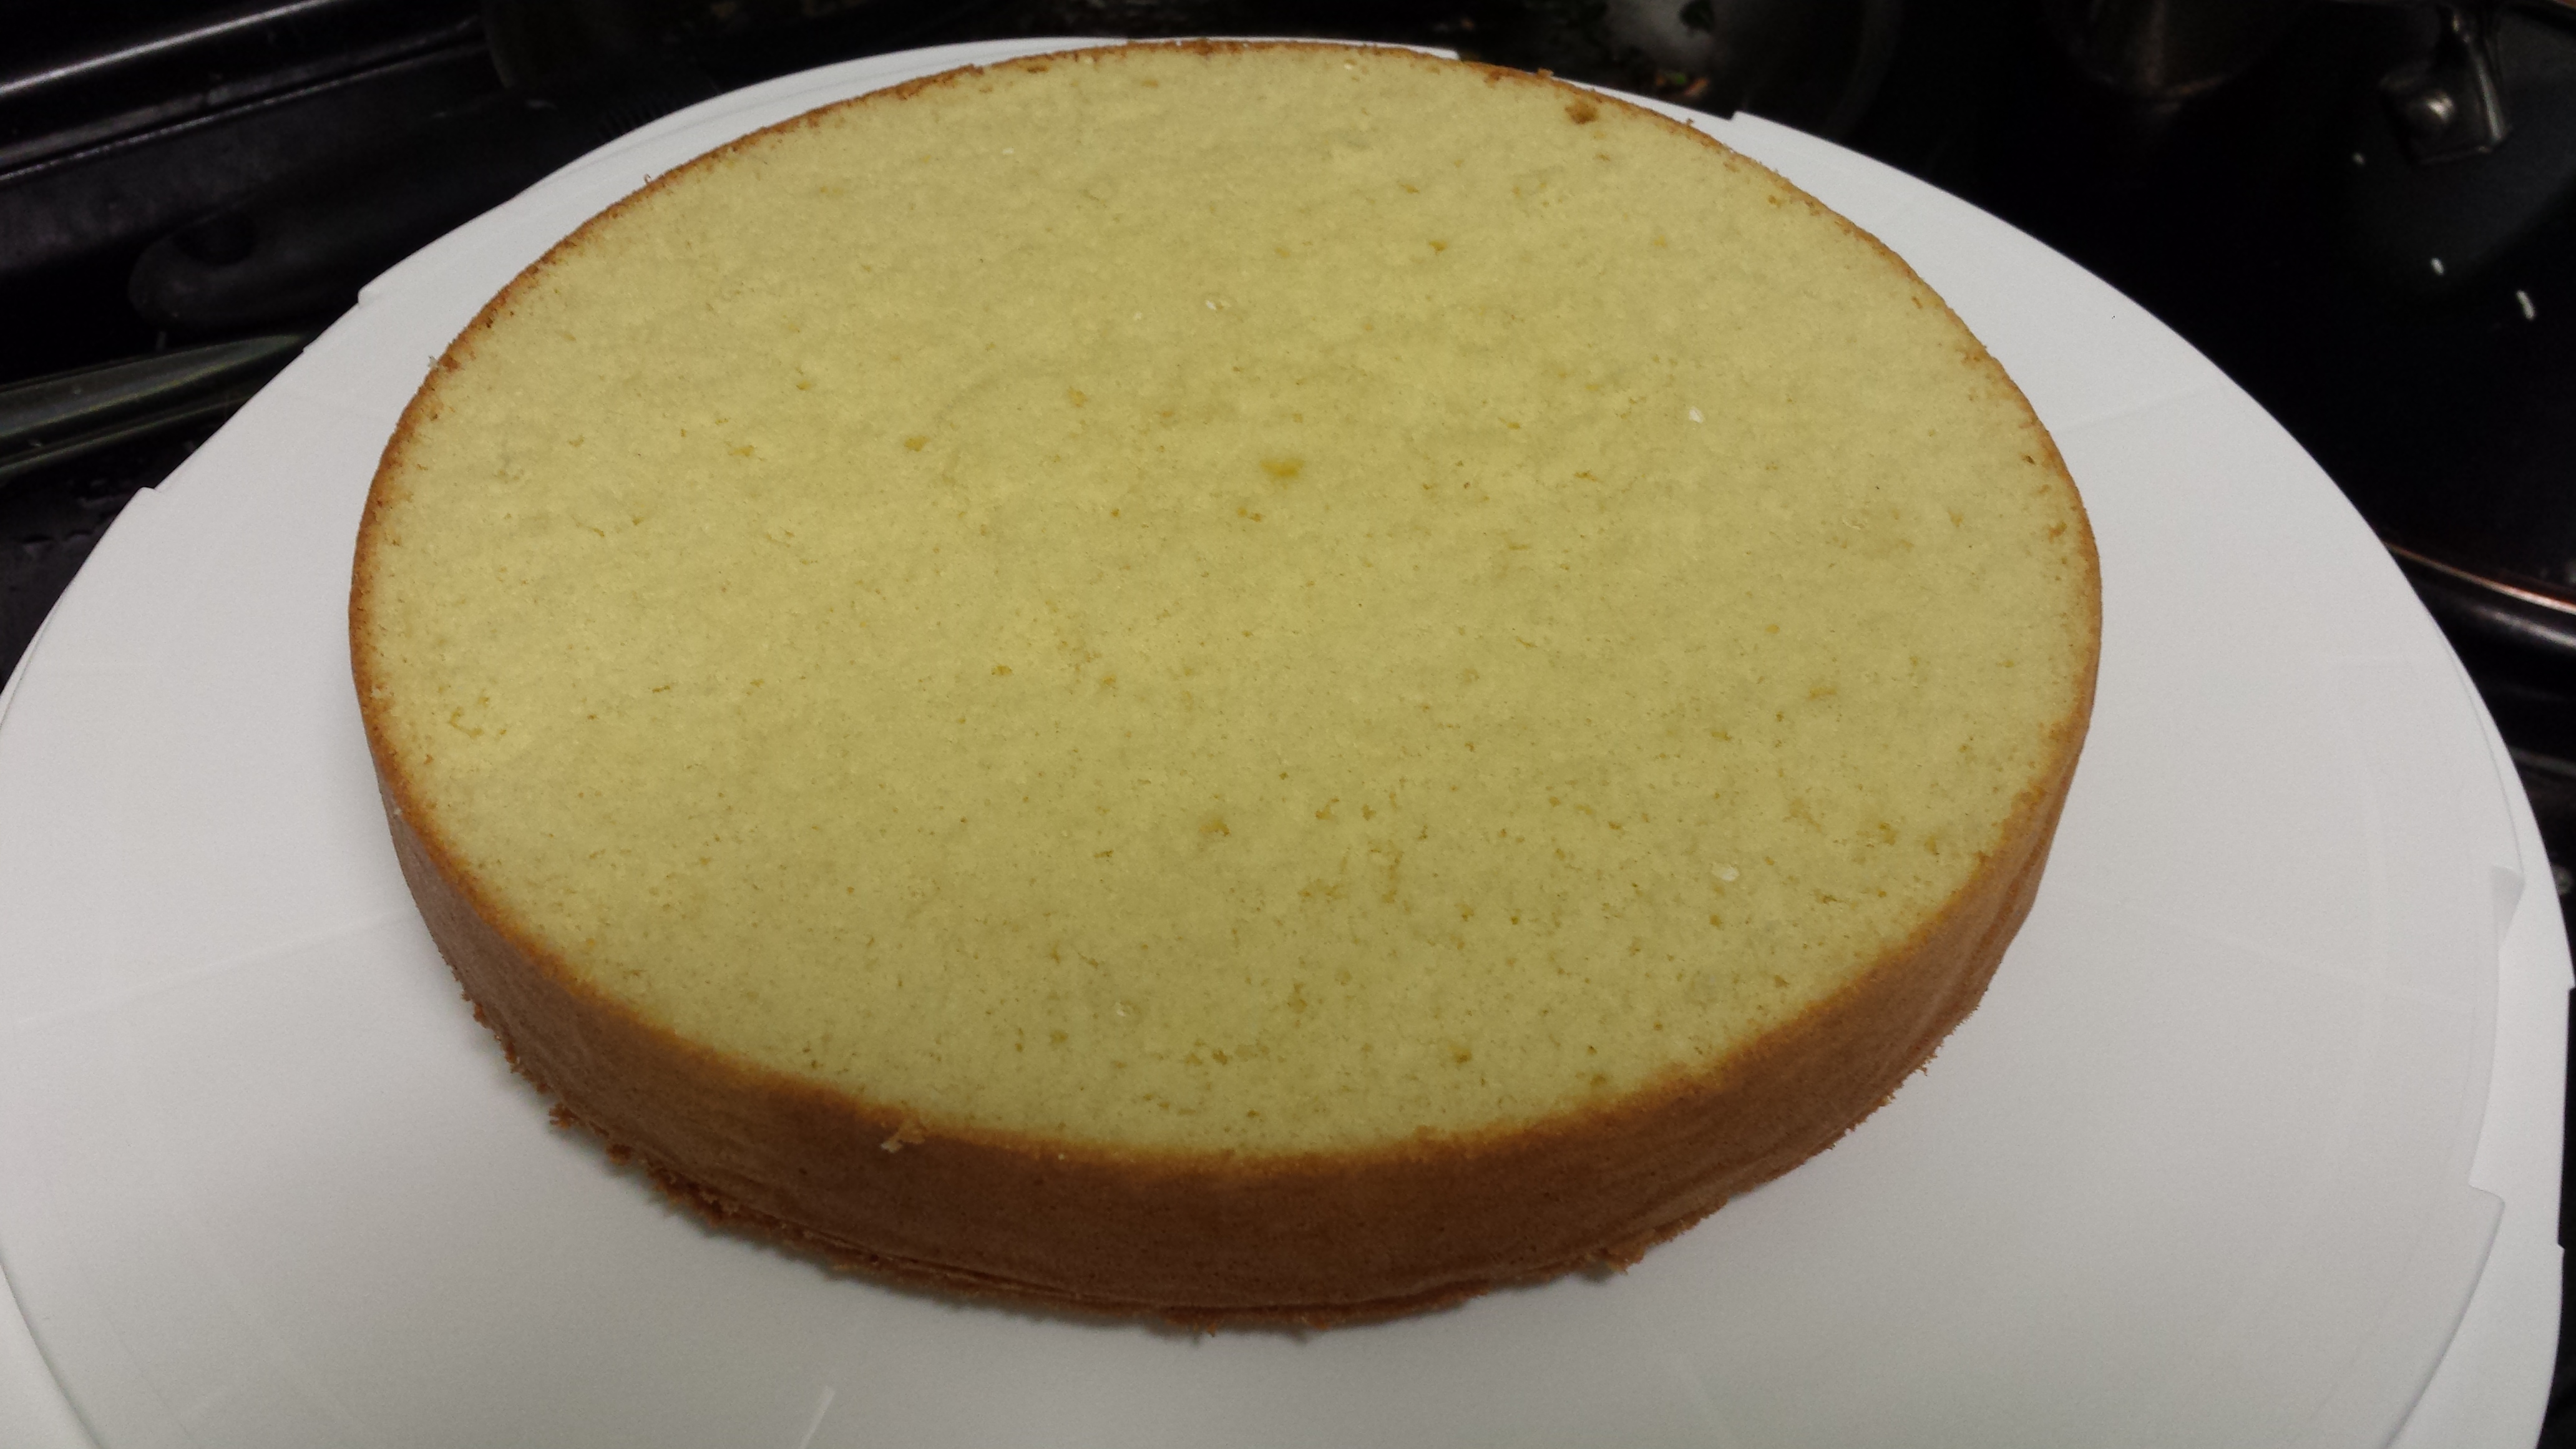
Start the decorating by cutting the cake cleanly in half. There are several ways to do this, you can use a leveling wire or simply eye-ball it like the Cooking with Dog cook does. The only important thing is that the cut is about halfway and is even.
Next, prep your syrup by mixing the sugar and hot water until the sugar dissolves. Pat the mixture on both sides of the cake, make sure to coat the correct side. We are coating the part that will be touching strawberries. I usually coat the cut side of both pieces, so when I’m reassembling the cake it will be even.

Now, we are going to slice some strawberries and mix the whipping cream. The strawberries should be cut length-wise into 1/2 in thick pieces and placed to the side. Don’t forget to reserve 8 whole strawberries for the top!
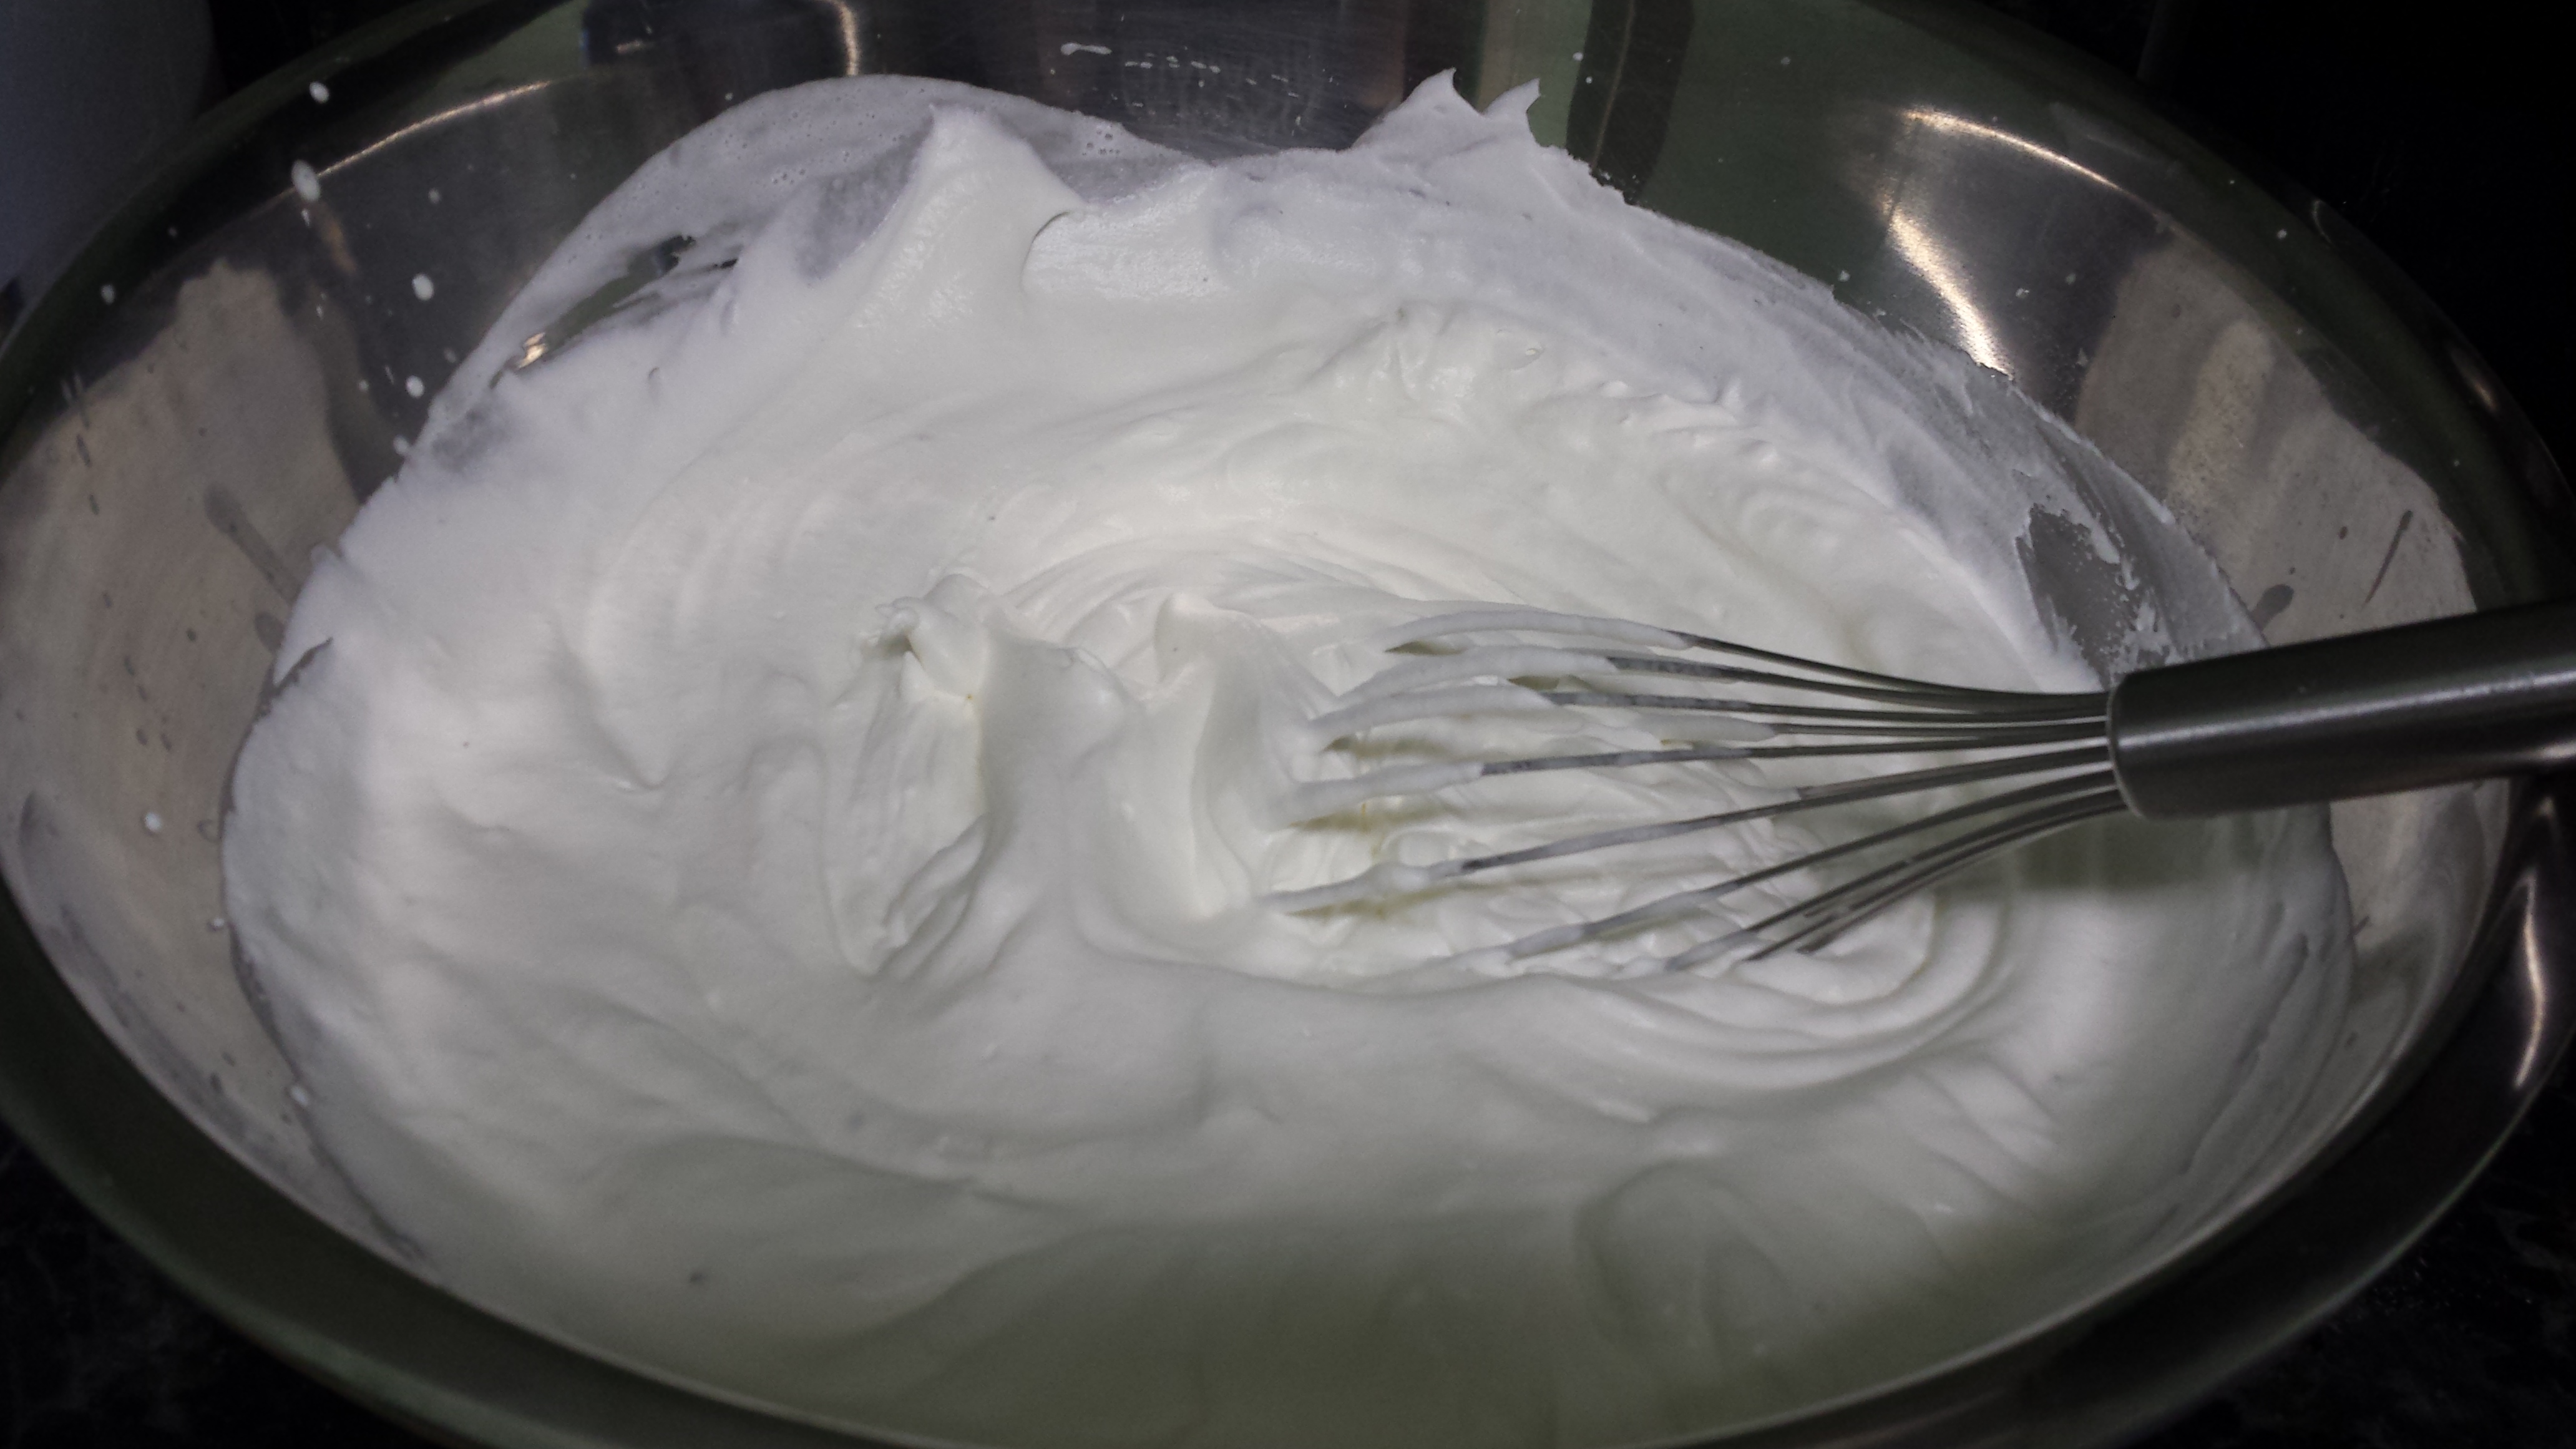
To make the cream, put the cream and sugar in a large bowl and whip by hand or with a hand mixer until it’s thick enough to easily spread, the soft peak stage. If you use a hand mixer, be wary not to over mix the cream, we don’t want butter! 🙂
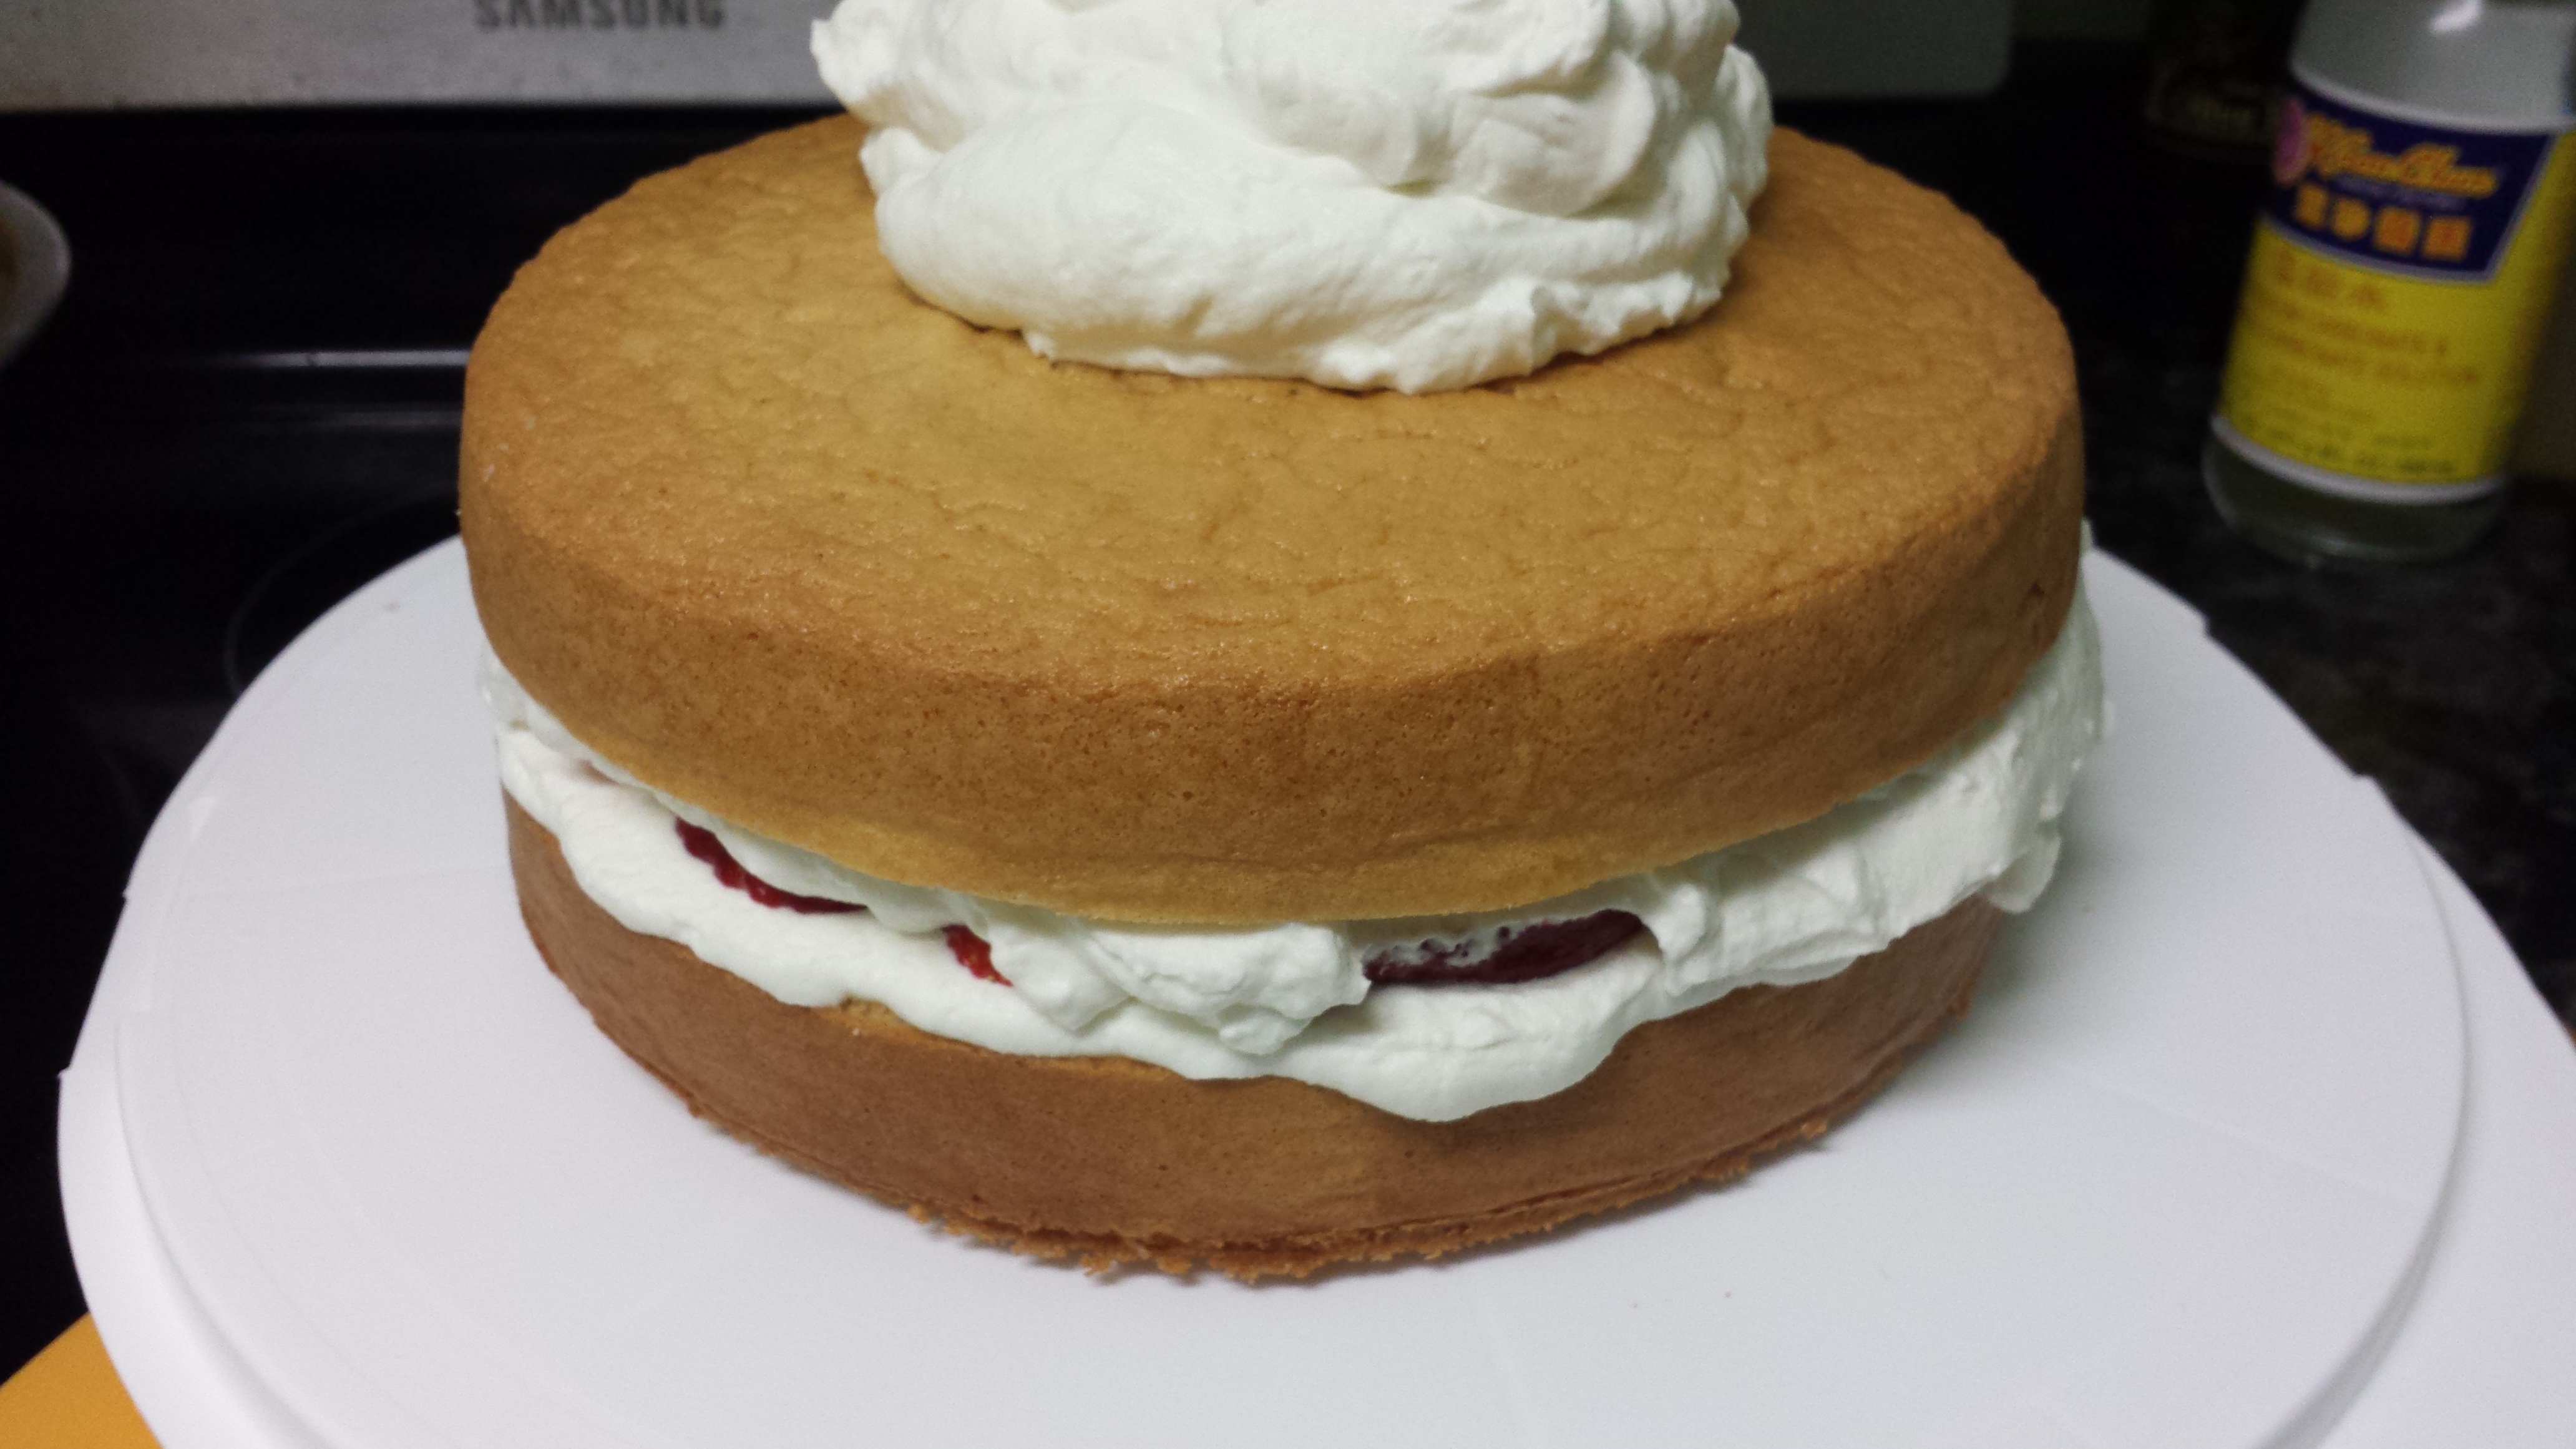
Start the assembly line! First, we are going to put a thin layer of cream on the bottom layer of the cake that is sitting cut-side up. Next, we will place the cut strawberries all around the top of this layer. Place more cream on top, and smooth it out into an even layer over the strawberries.
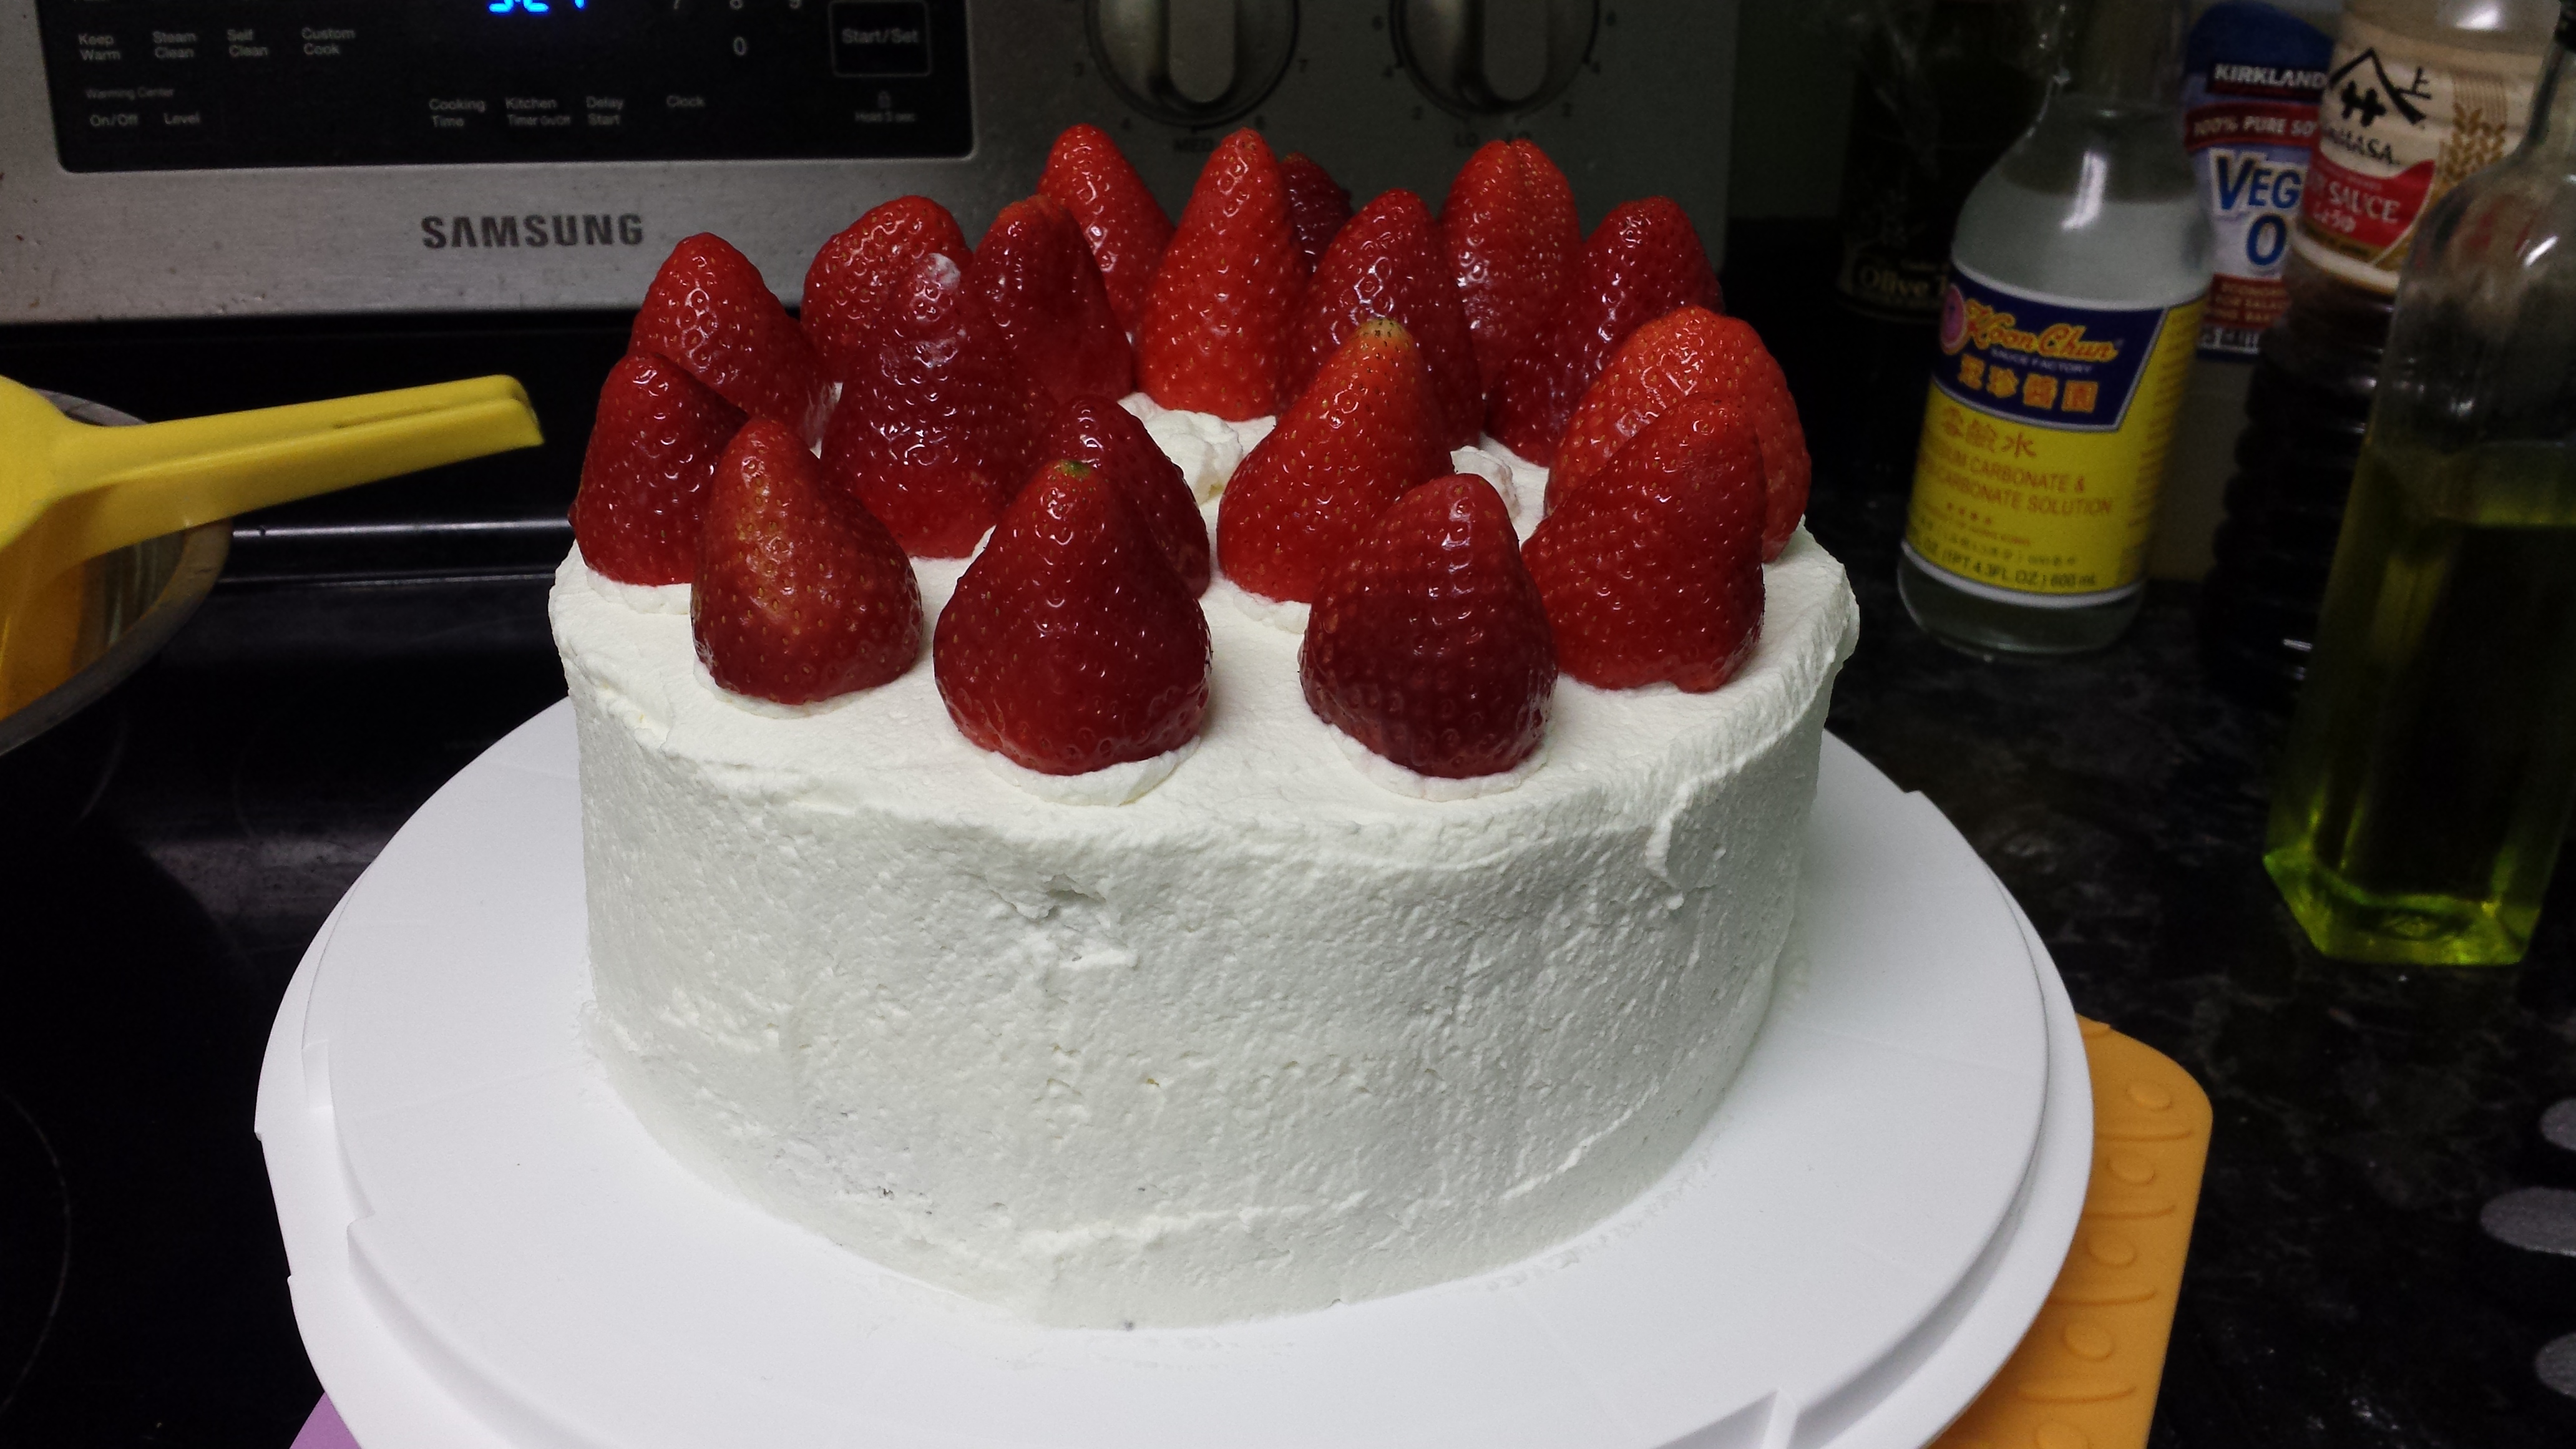
Next, we will put the top of the cake, cut-side down, centered on the bottom layer. Now, frost the entire cake, starting with the top, and moving to the sides. Cooking with Dog has some great decorating tips at the end of their video. Finally, place the other strawberries equidistant around the edge of the top of the cake.
That’s it! Take pictures of your beautiful handiwork, serve, eat, and most importantly, enjoy. Yummmmmm!